Workshops - Sept 1, 2026

Sept 1st. 11am - 1pm. 2026
Workshops - August 22nd, 2026
578 Nepperhan Ave. Yonkers. NY
Aug 22nd. 11:30am - 130 pm. 2026
Workshops - Sat. August 1st., 2026
2-4pm Sessions is full.
Second Session Added! 4-6pm
Workshops - June 14, 2026

Making a Cyanotype.

The Steps
For me the basic steps that go into making a cyanotype (cyan for short) are : Idea, Chemical and Material Preparation, Composition, Exposure, Wash and Dry. Below, in no strict order, are more details about some of the steps. I hope it gives an idea of what goes int to making one so you may enjoy the workshops and or making your cyans. Enjoy!
Quick preview of the ‘Exposure’ Step.
Time-lapse of making a diptych cyan.
Materials
Watercolor paper is pretty basic. It does have to be a good weight. So it does not come apart in the water. Around 140lb, 350gsm. Other materials like fabric are good as well.
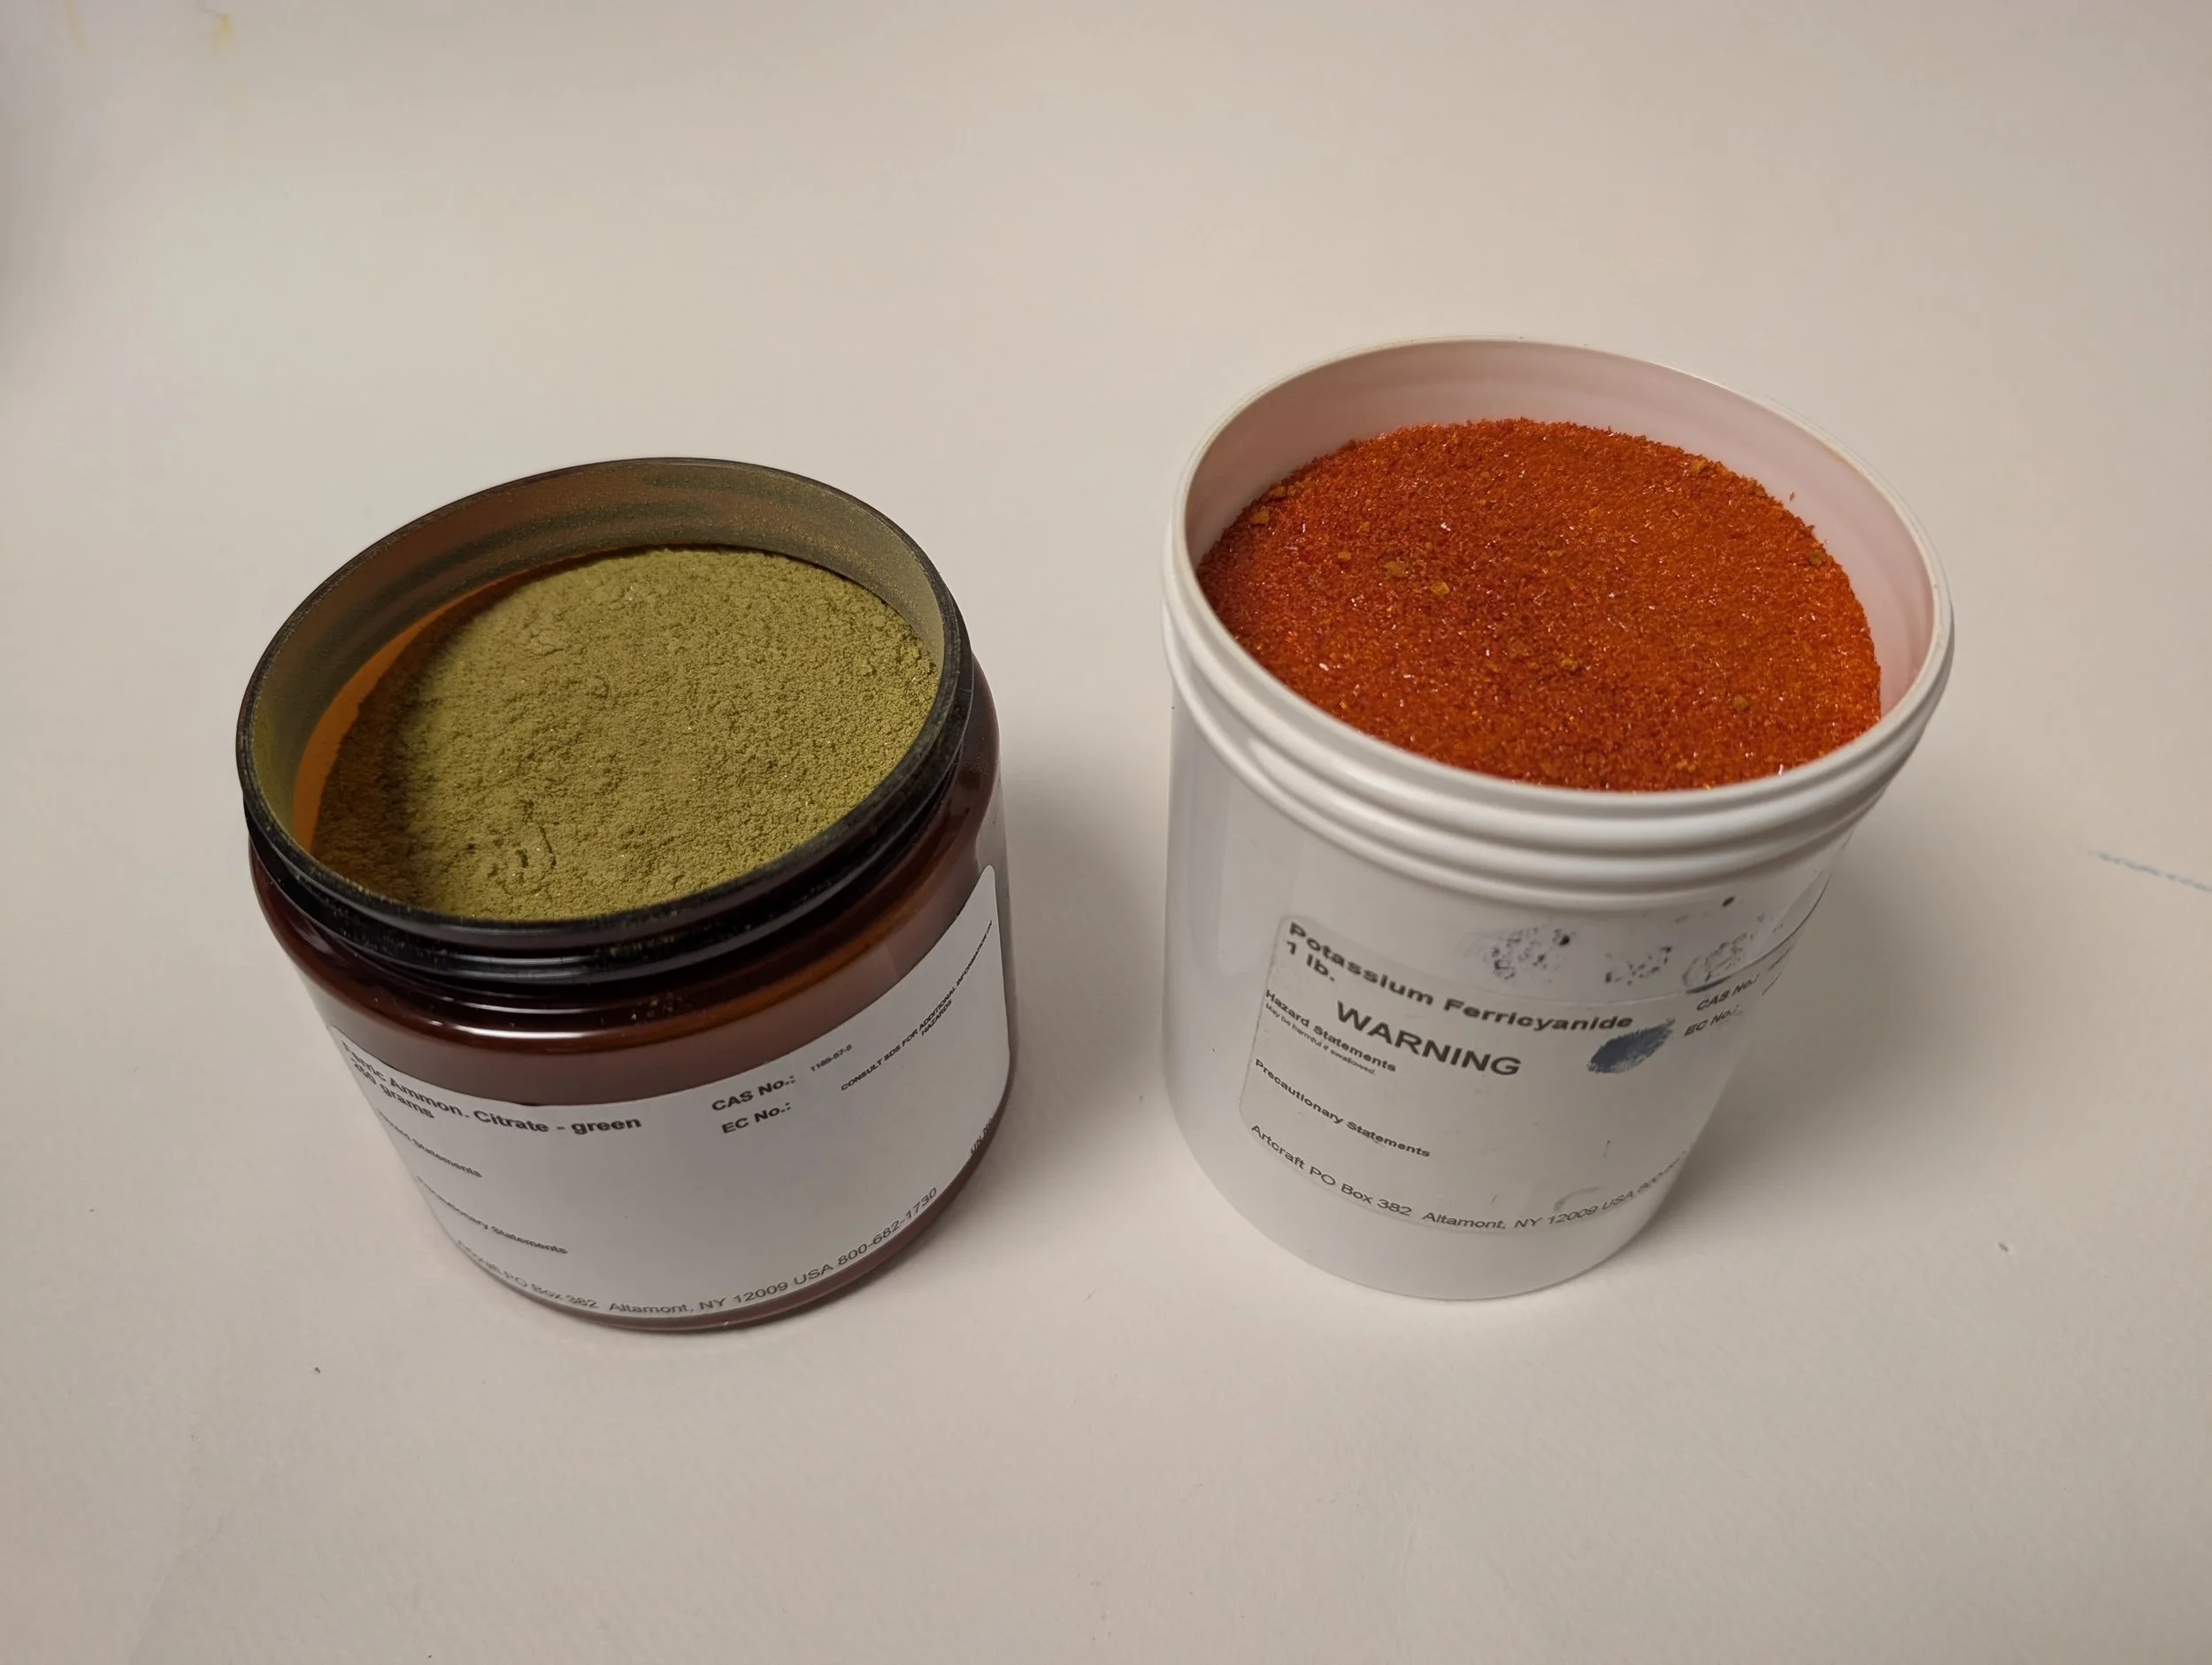
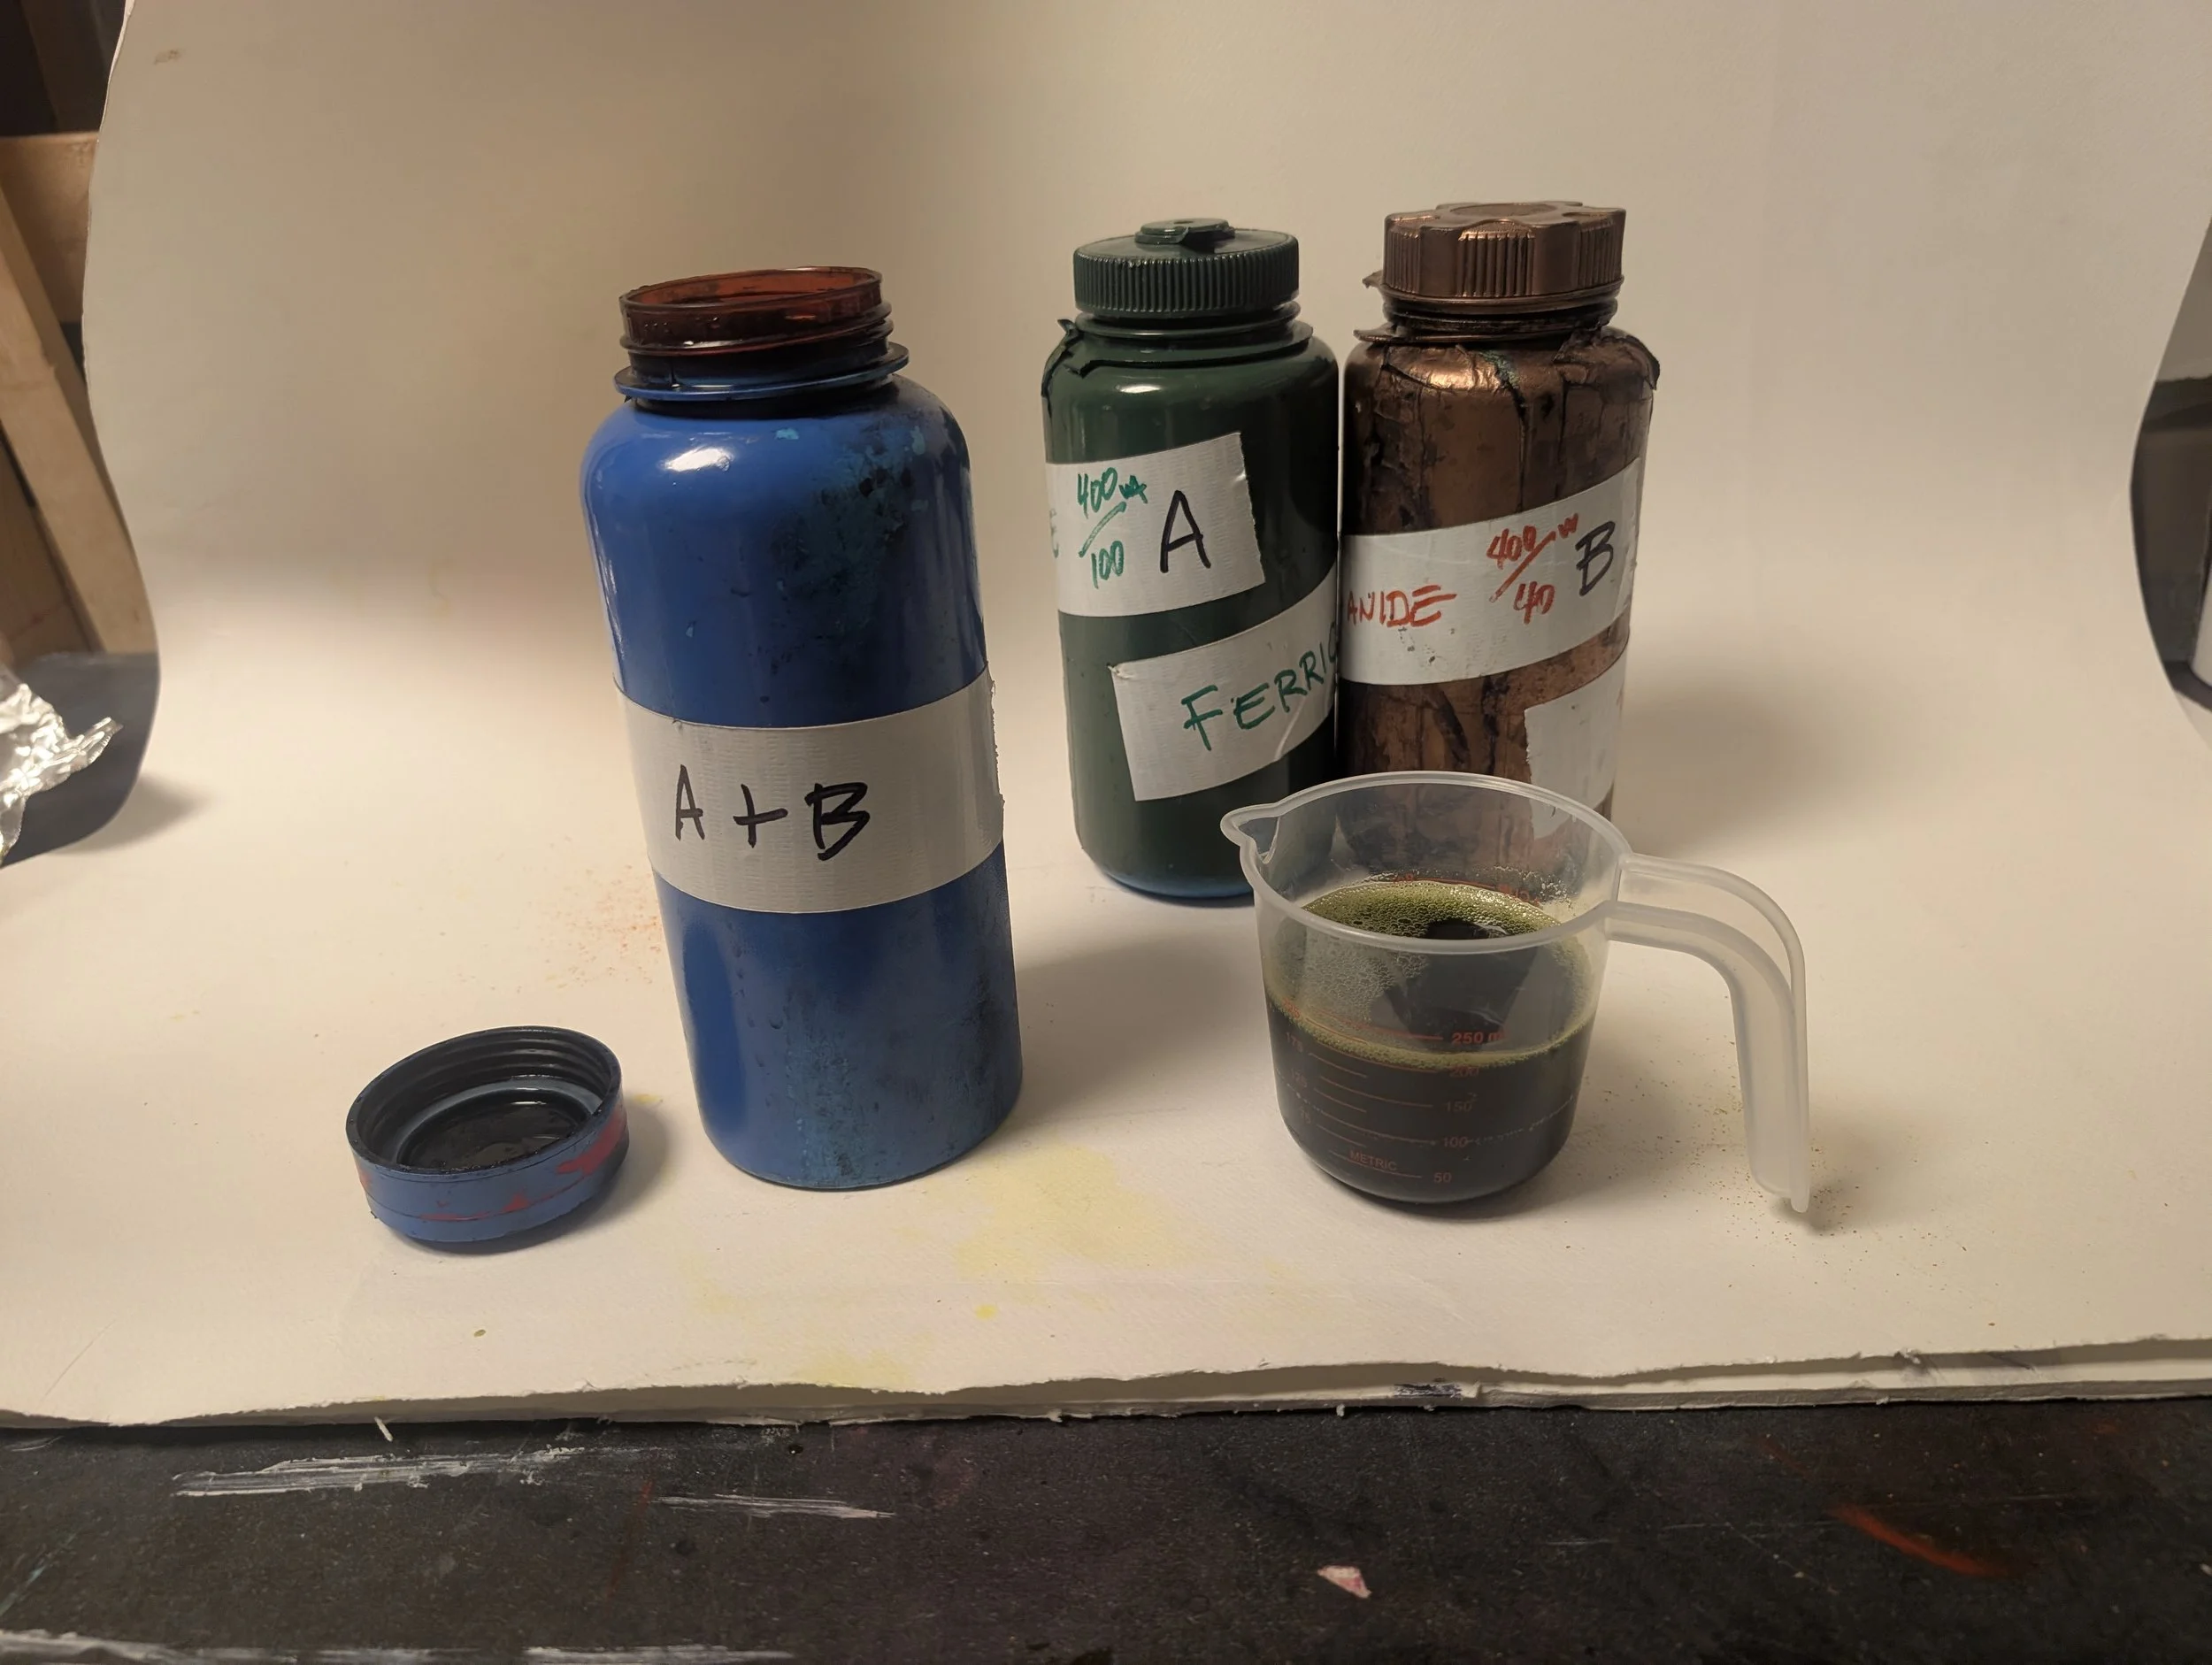
Chemicals: Solution B (ferric ammonium citrate) & Solution A (potassium ferricyanide)
UV light source (or sunlight)
Glass or acrylic sheet
Brushes, droppers, or foam applicators
Trays or shallow containers for rinsing
Gloves and apron
Paper towels or absorbent cloth
Objects, leaves, or negatives for your design

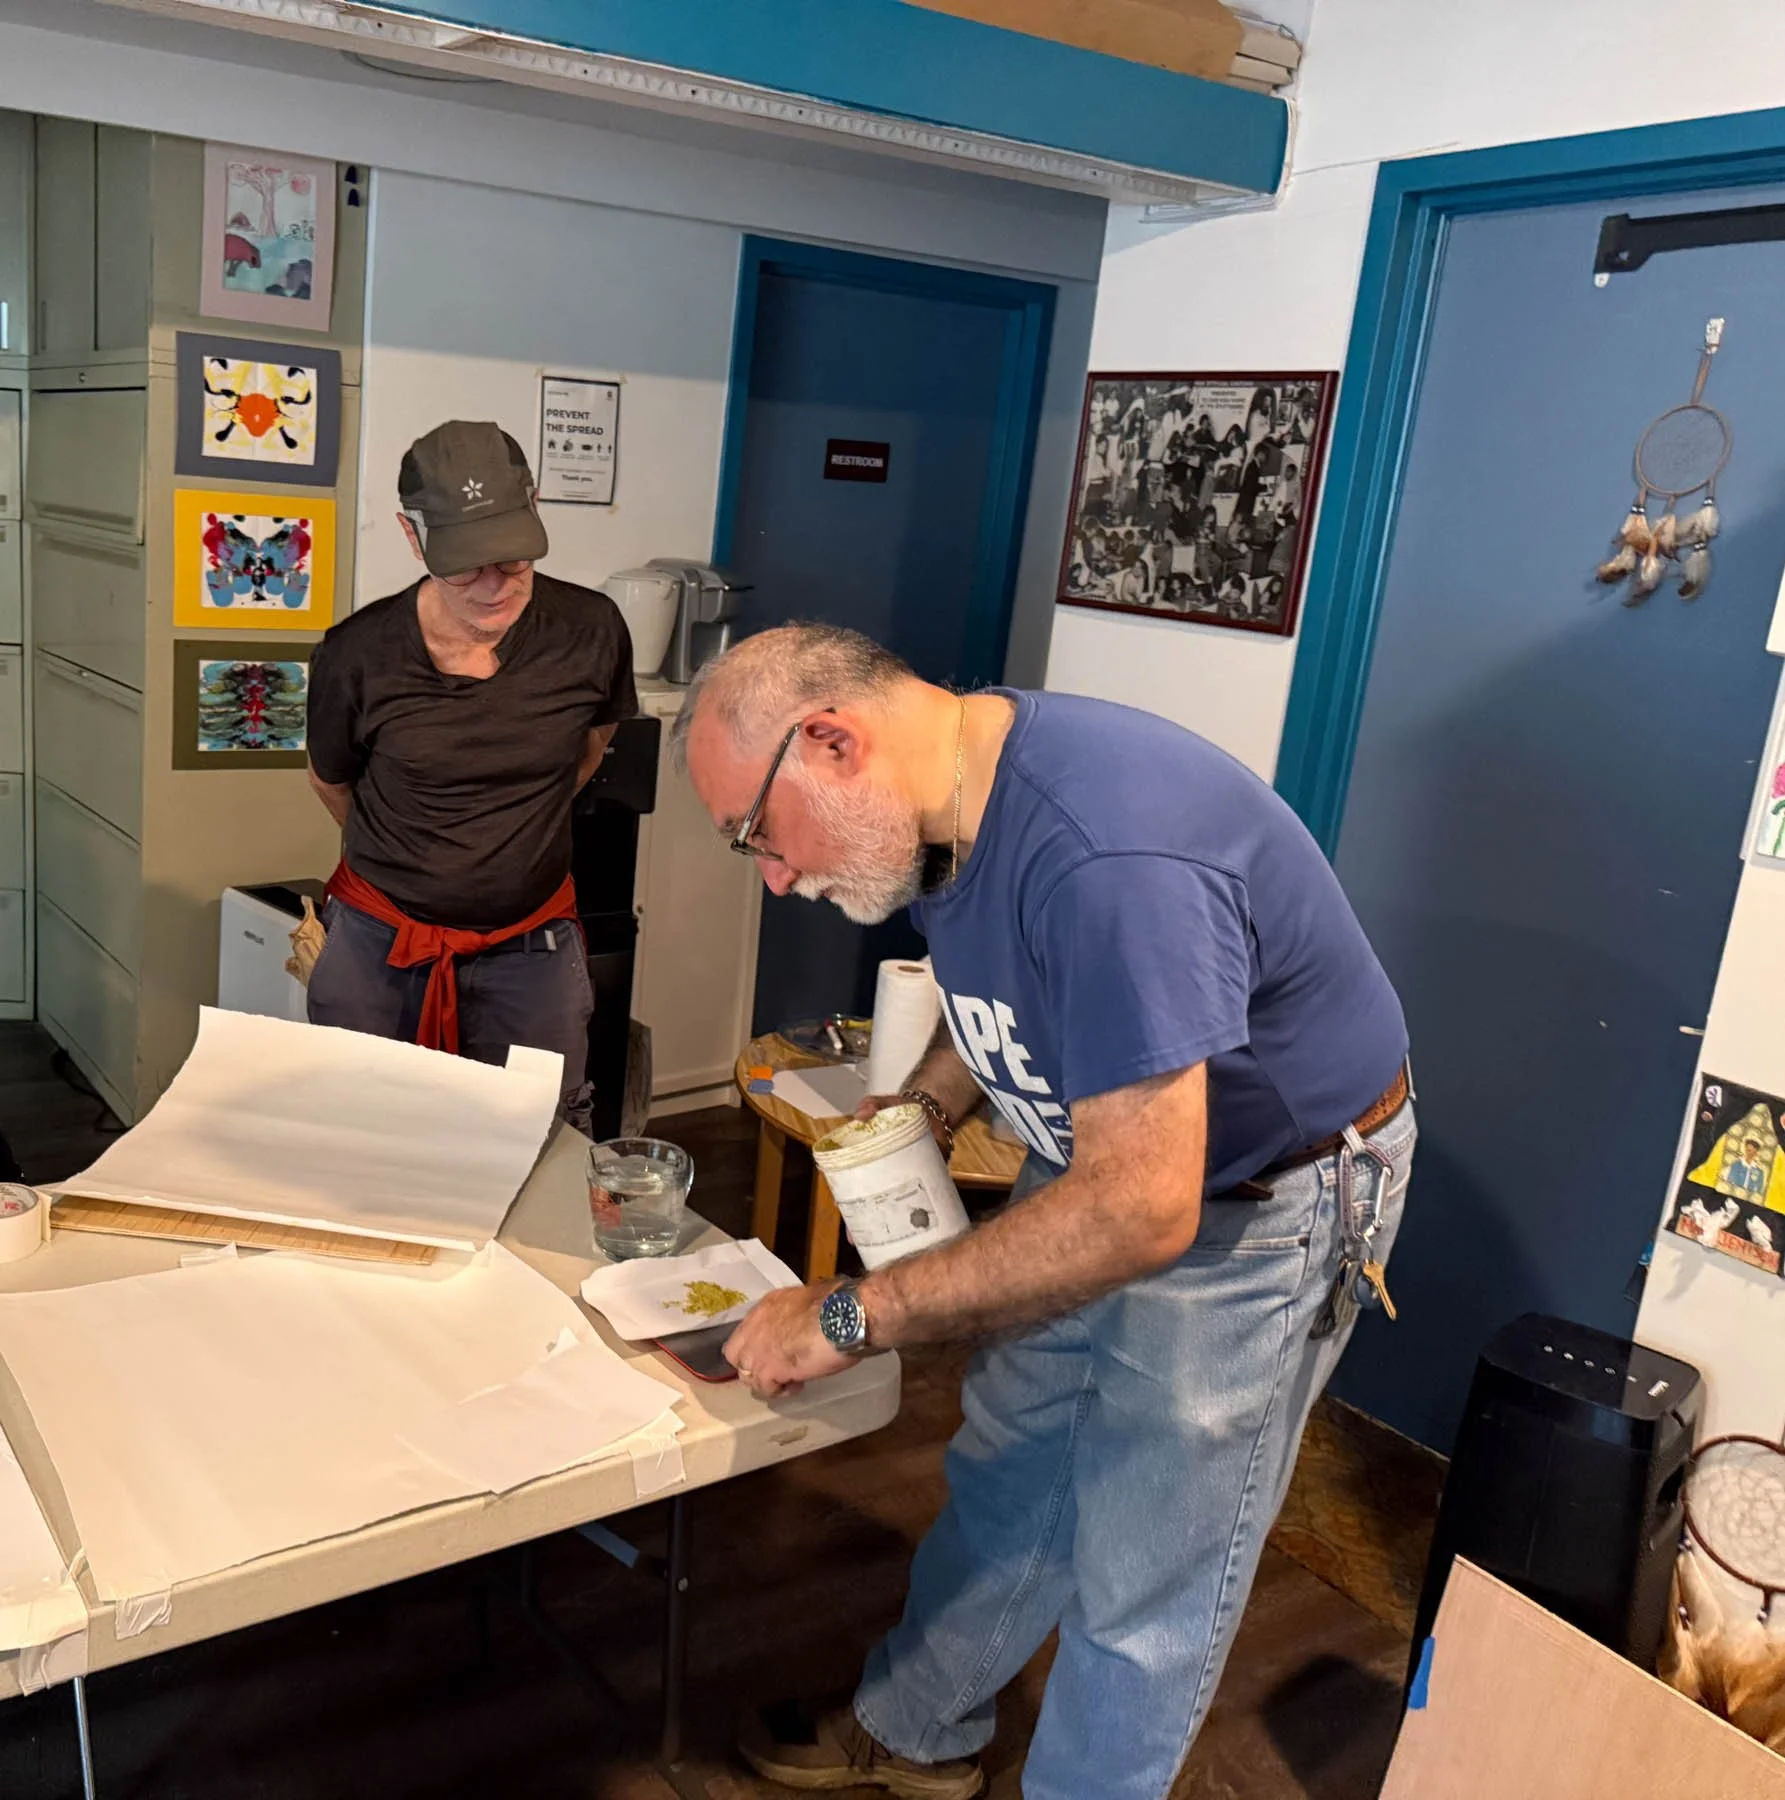
Prepare work space
Cover your table with protective paper and wear gloves and an apron. Cyanotype chemicals can stain surfaces and skin. No need to worry the chemicals will not harm you. Just wash your hands when done.
Mix the Chemicals
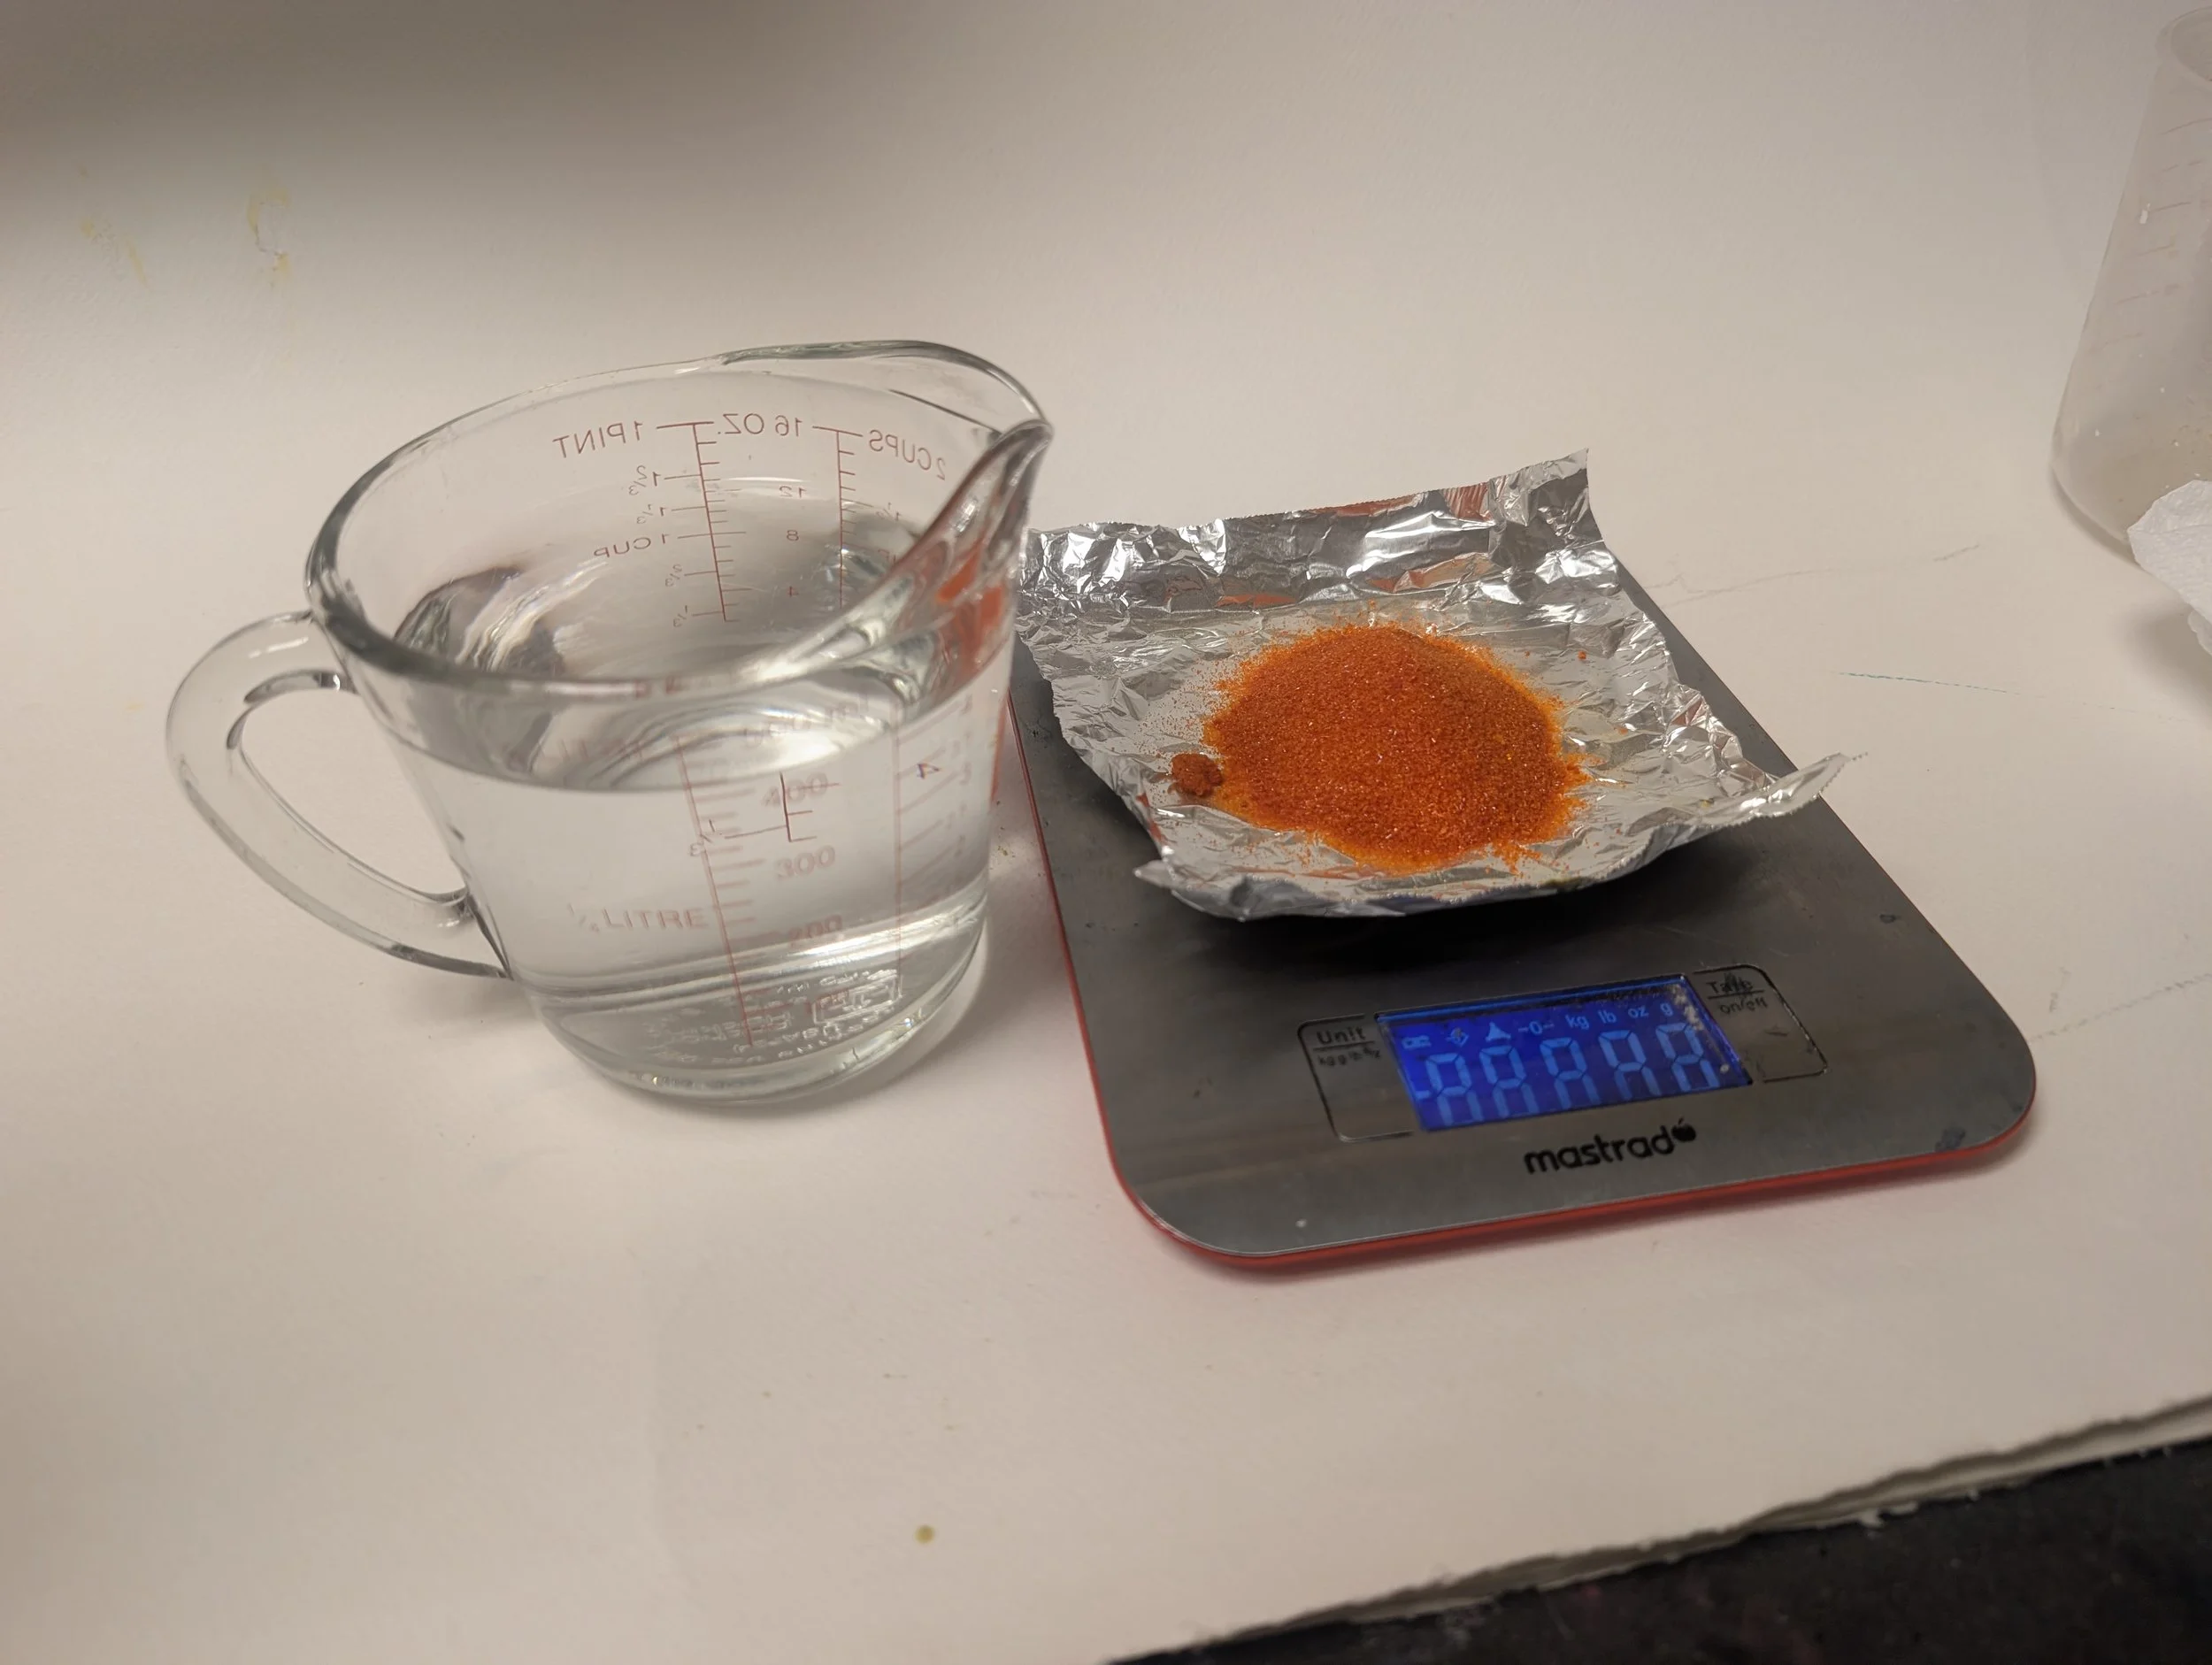
In a dimly lit room, combine equal parts of Solution A and Solution B to make your working solution. Keep it in an opaque container to avoid light exposure. I use a ratio of 100g to 400ml. (1g to 4ml) for Ferric Ammonium citrate. and 40g to 400ml (1g to 10ml). for Potassium ferricyanide. You can mix with that ratio for what you need. Or get pre-mixed Solution A and B. Jaquard is a good brand.
Coat the Paper
Use a brush or foam applicator to evenly coat the paper with the chemical solution. Work quickly to avoid streaks.
Dry the Paper
Let the coated paper dry in a dark, dust-free area for 15–30 minutes, depending on humidity.
Prepare Objects or Negatives
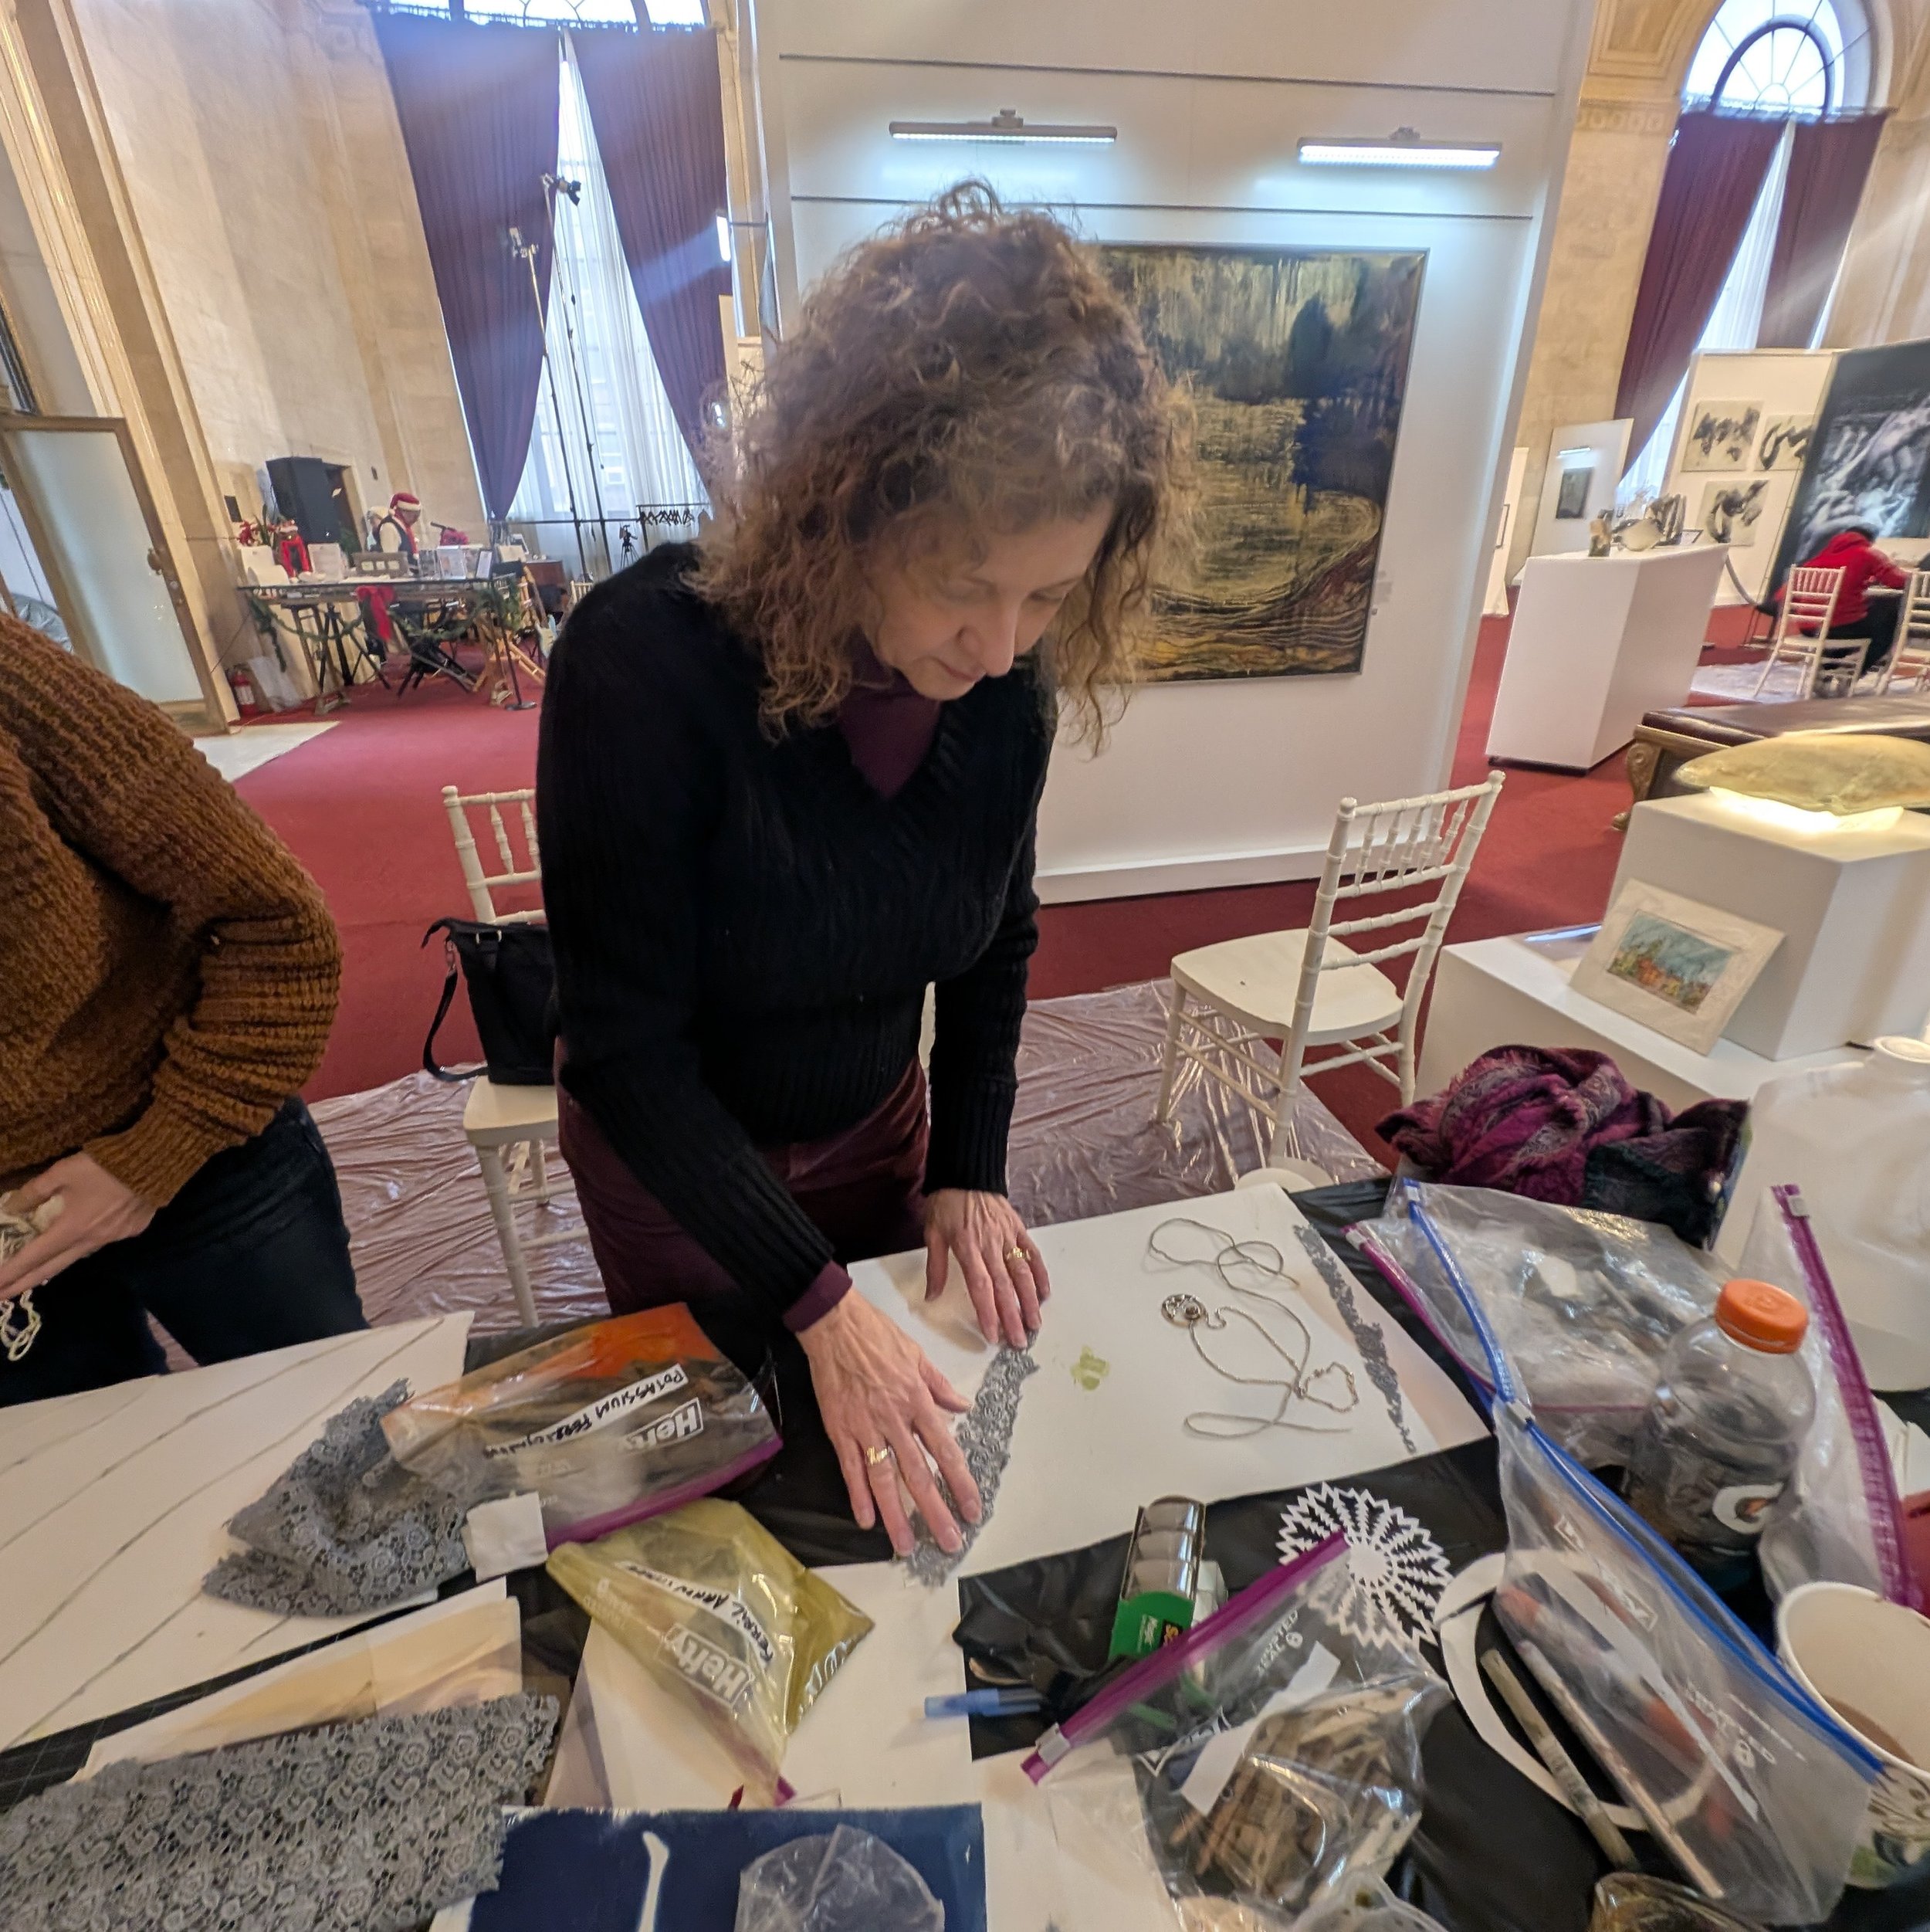
Select leaves, flowers, photographic negatives or any of other 1000’s of items for your design.
Position the Paper
Lay the dried, coated paper flat on your workspace.
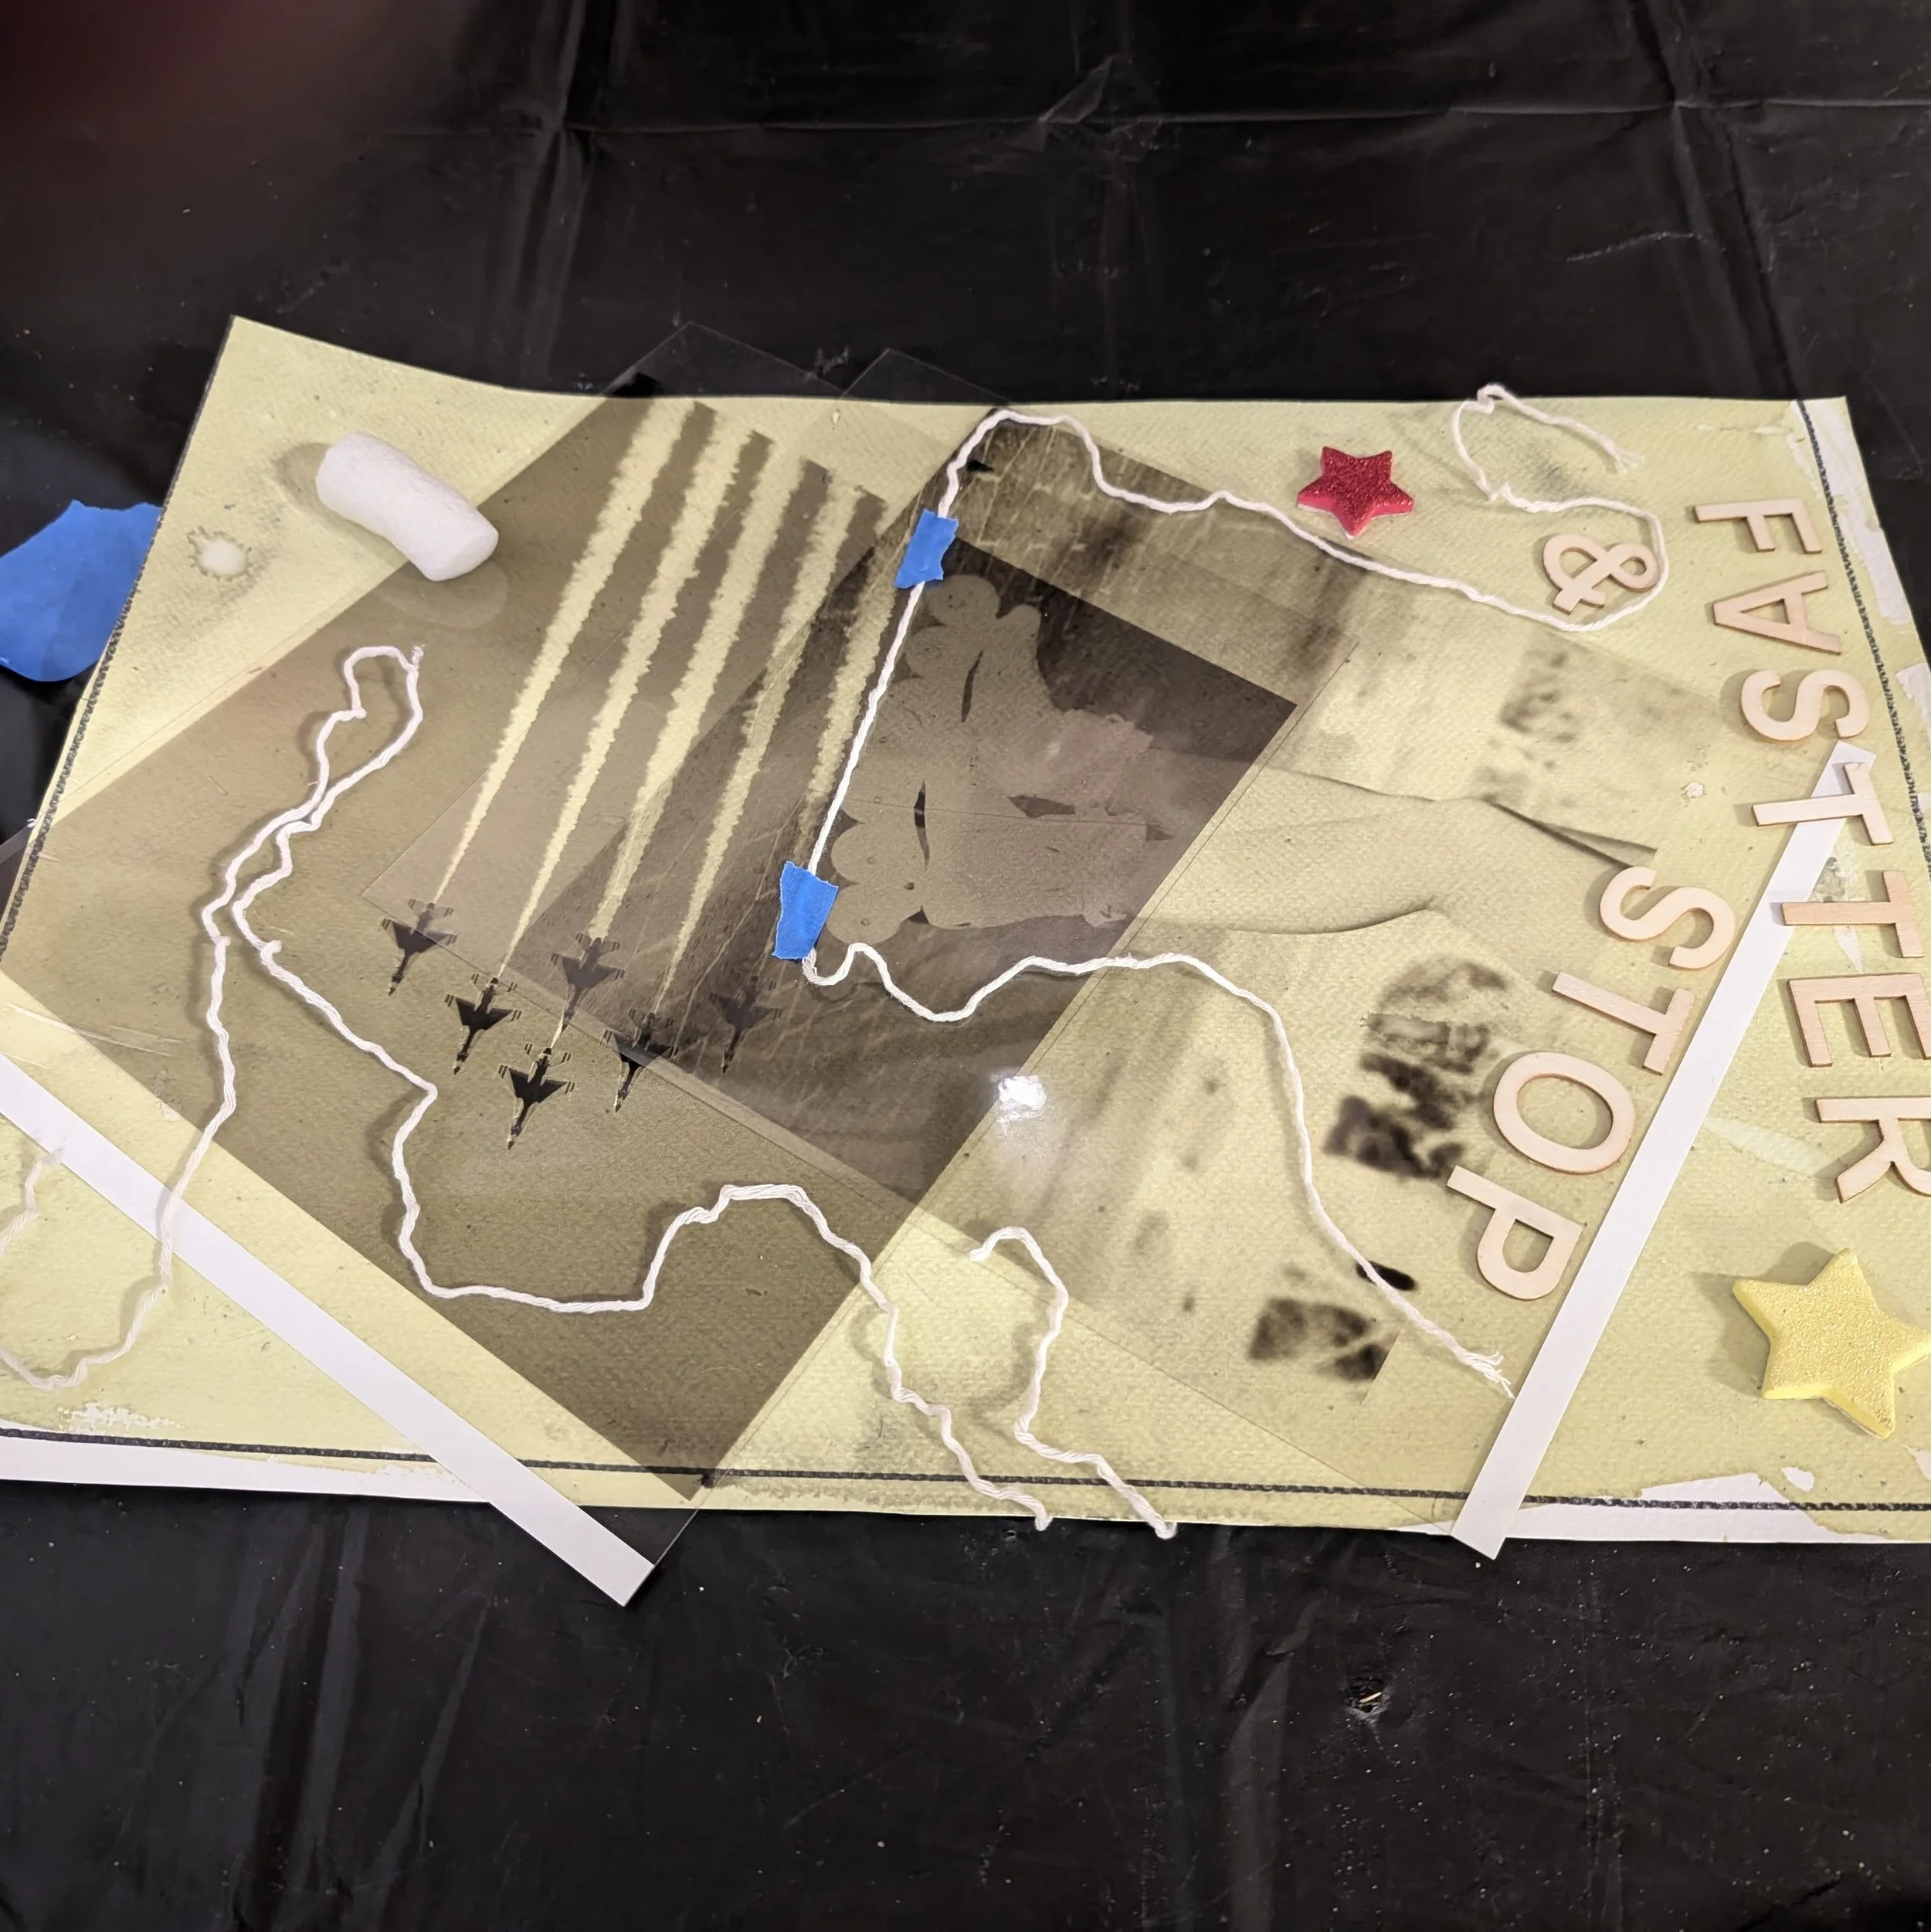
Arrange Your Design
Place your objects or negatives on the coated paper carefully.
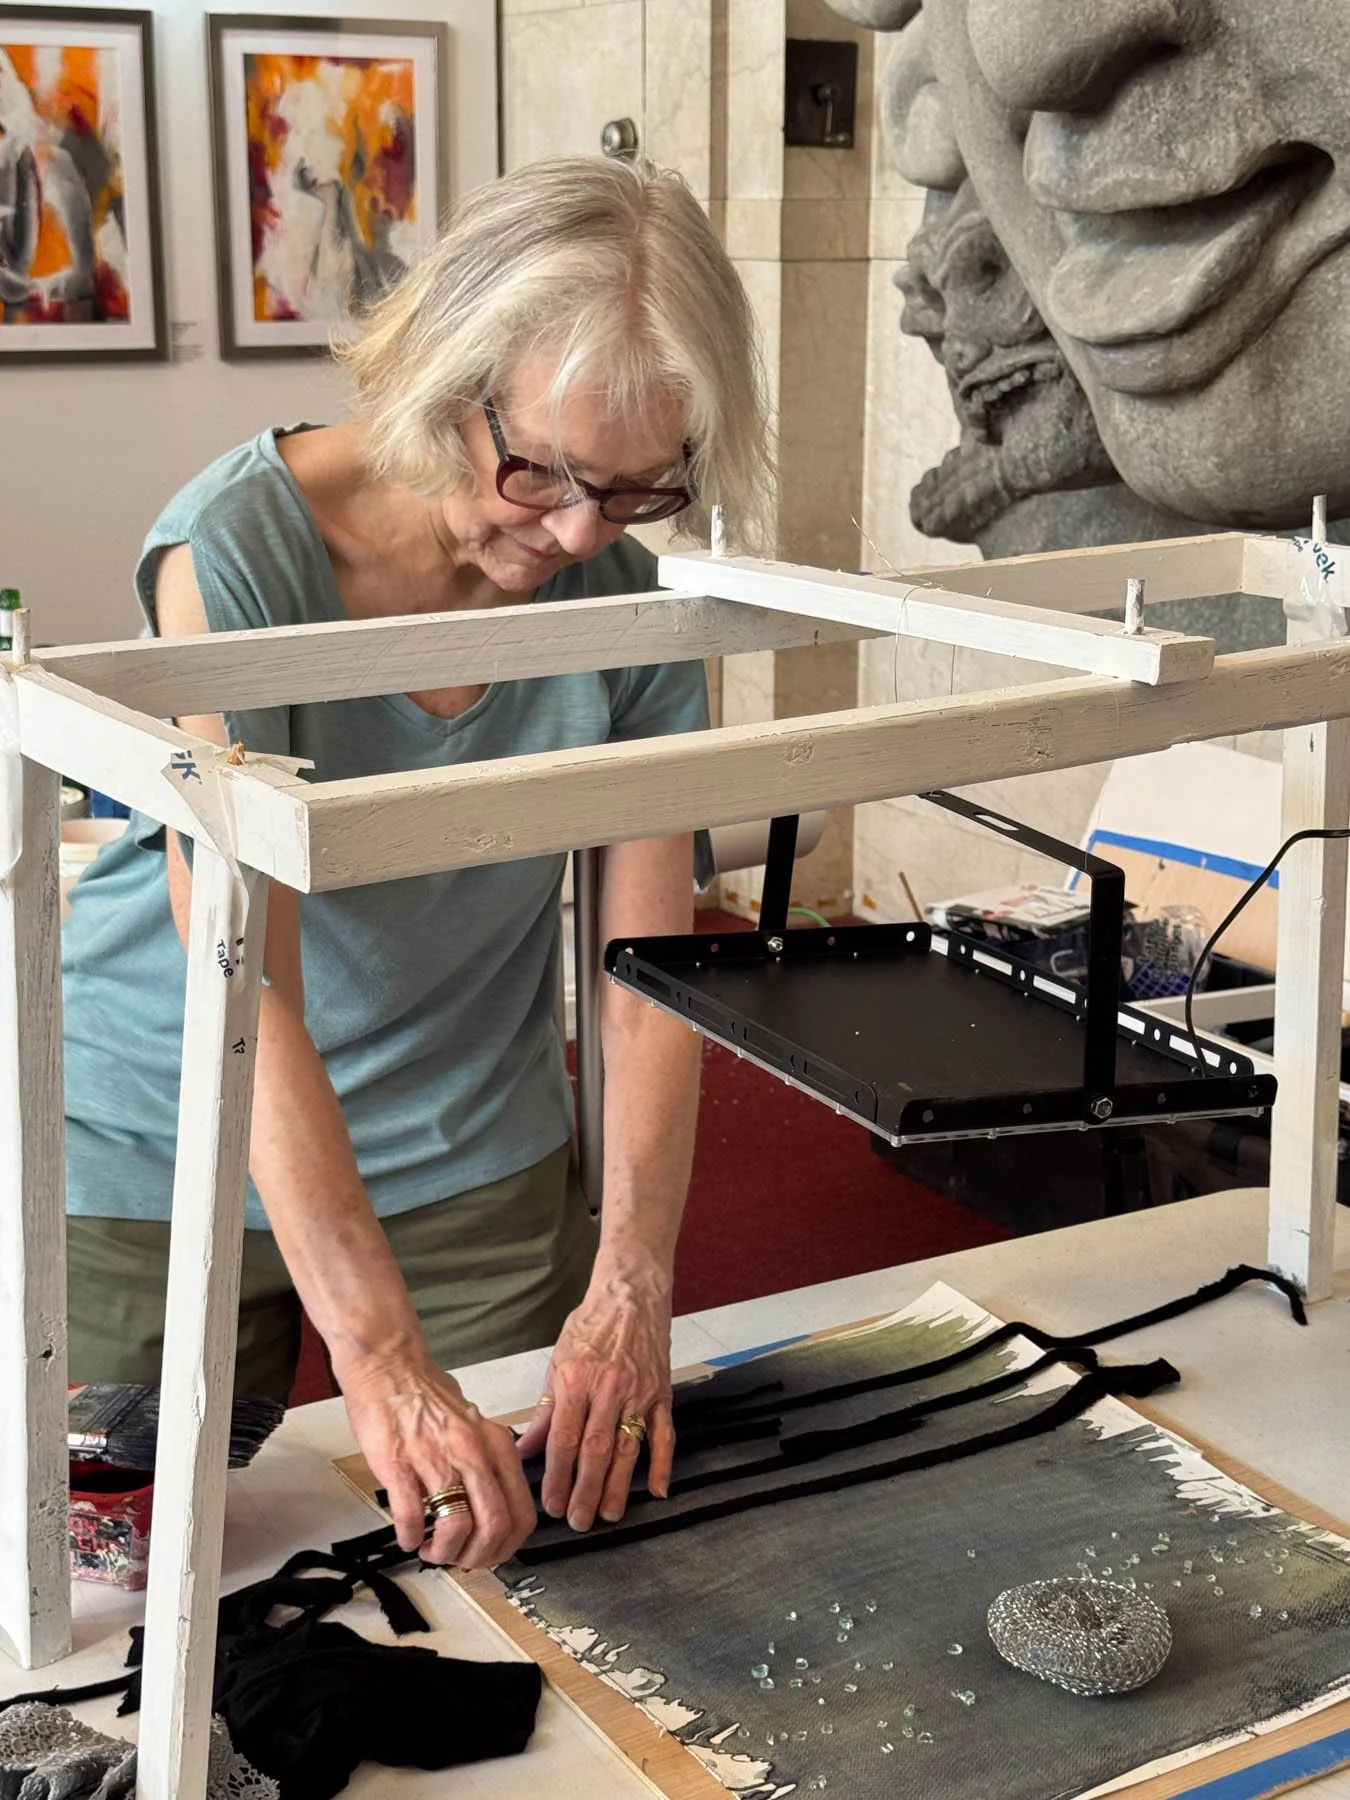
Cover with Glass or Acrylic
Place a clear sheet over your objects to keep them flat during exposure. This is optional. Not quite so optional if outside on a windy day!
Expose to UV Light

Expose your setup to UV light for 5–15 minutes, depending on intensity.
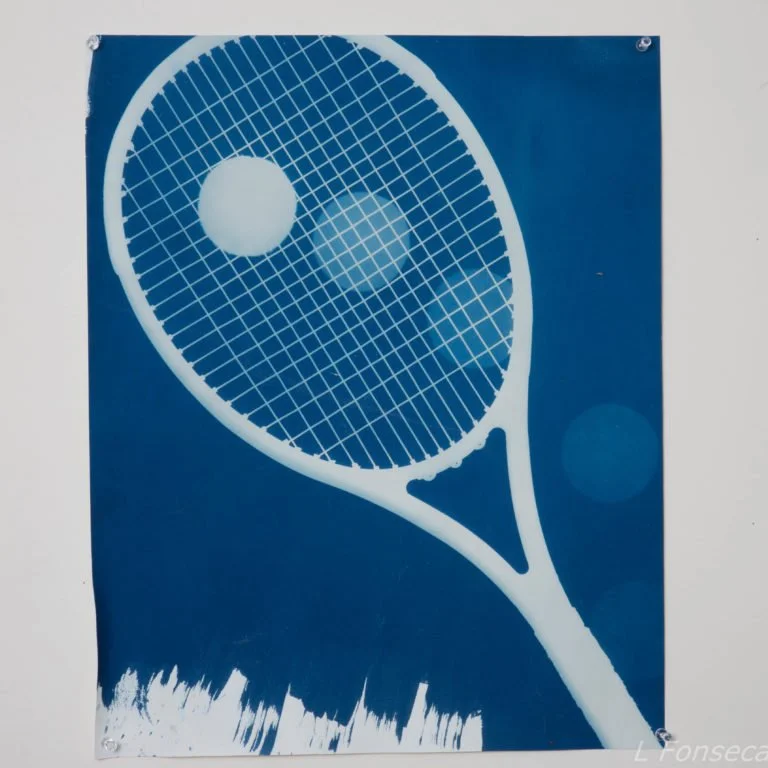
Observe the Change
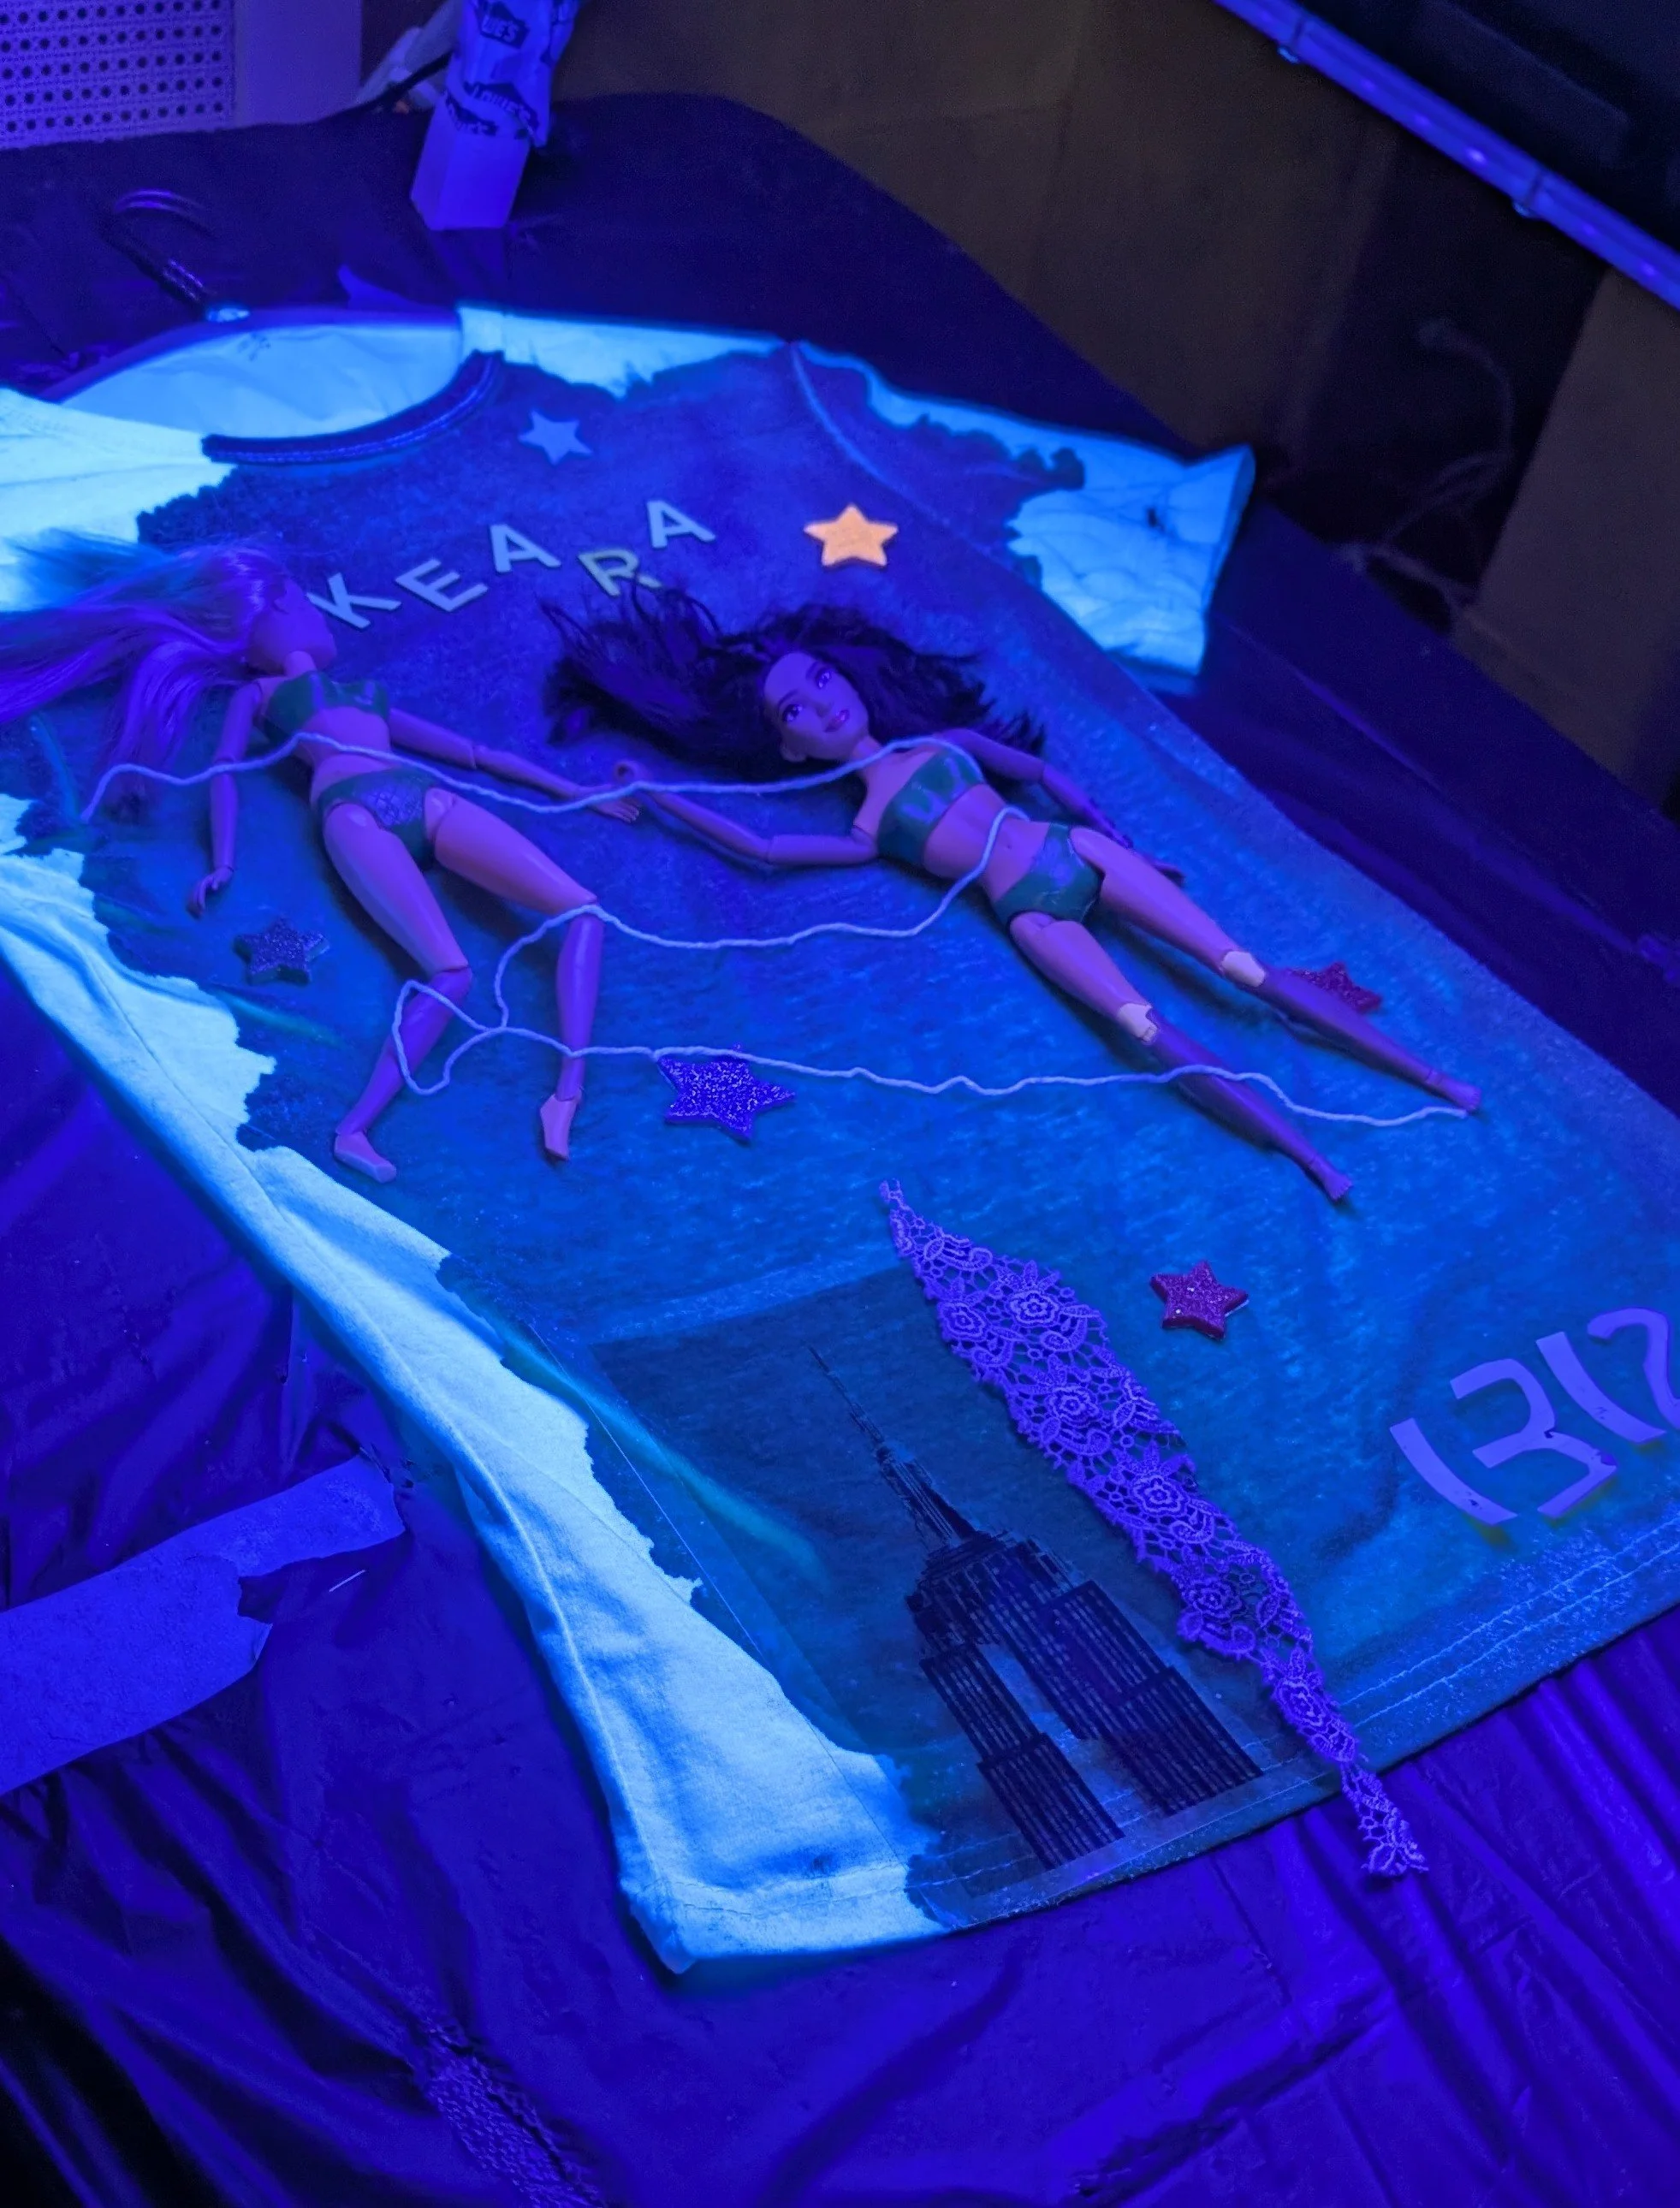
The areas exposed to light will darken to blue, while covered areas remain lighter. This reveals your design.
Remove the Cover
Carefully lift the glass or acrylic sheet from your print, exposing the objects.
Lift Objects
Carefully lift the glass or acrylic sheet from your print, exposing the objects.
Optional: Gentle Blotting
Lightly blot the surface with a cloth if necessary, being careful not to smudge the print.
Rinse the Print
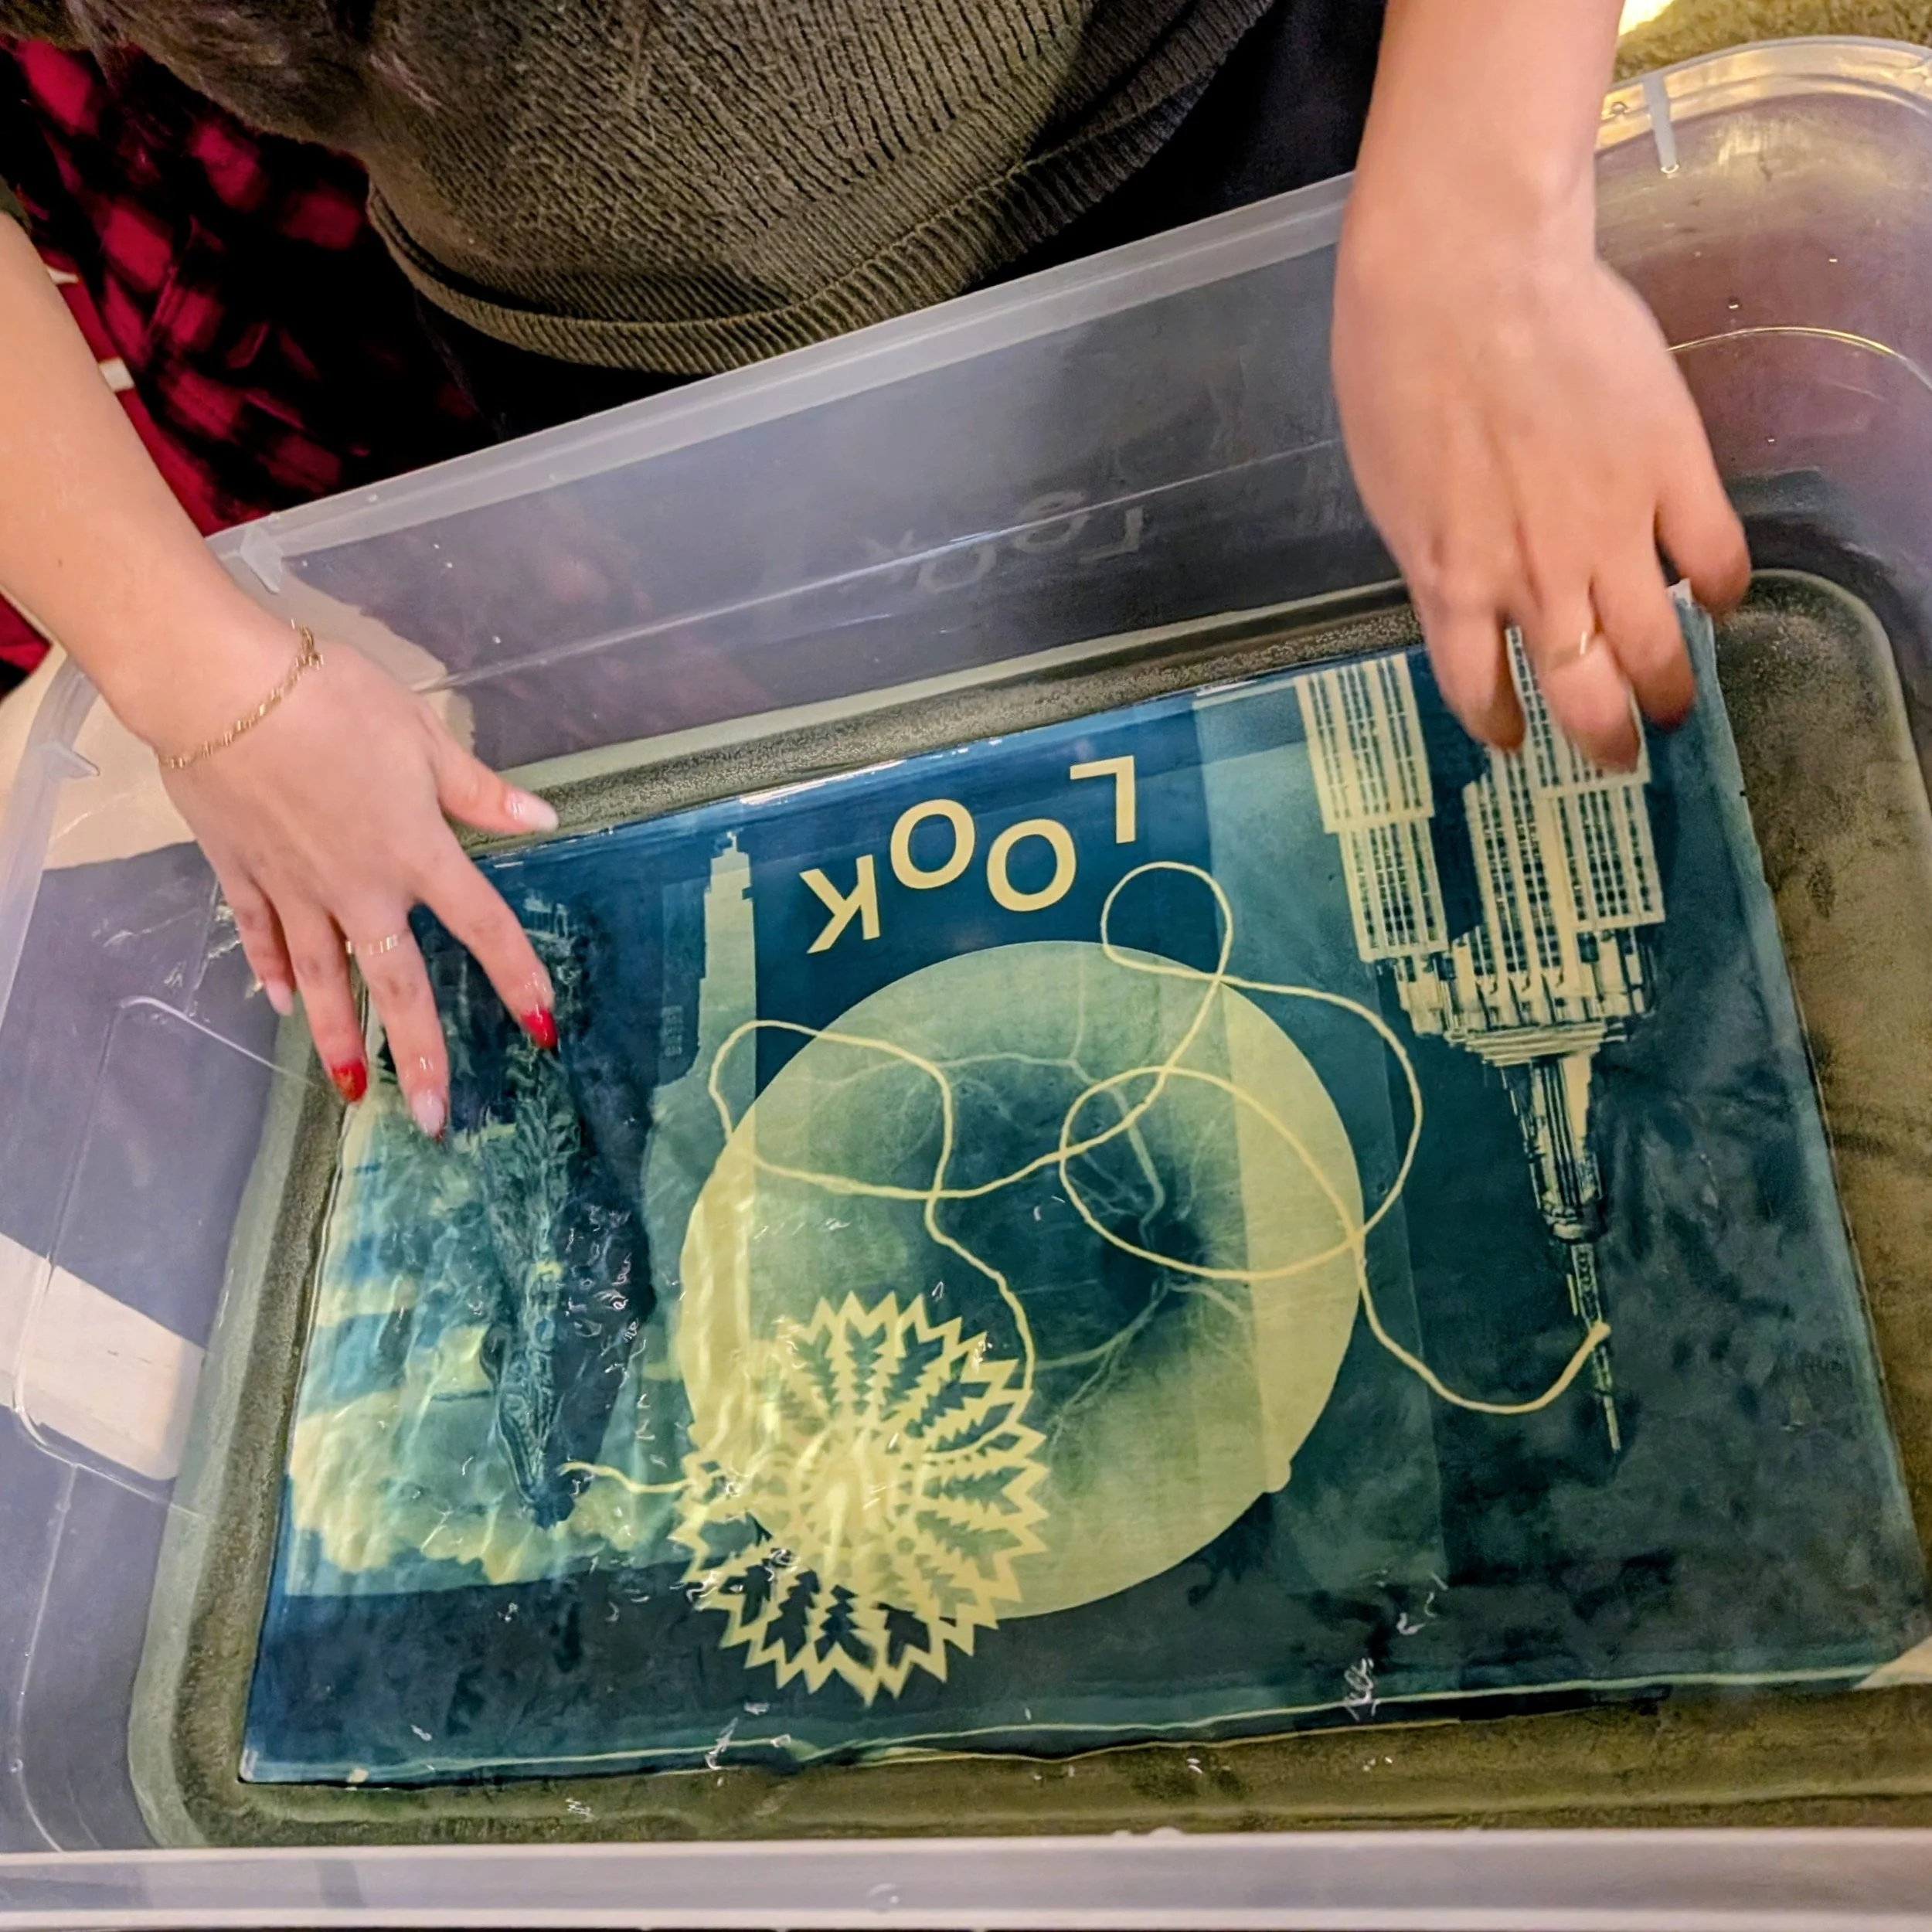
Rinse the paper in cool water until the water runs clear. The blue color will intensify as it washes. Adding a little bit of hydrogen peroxide to the wash will also intensify the blue colors.
First Drying
Lay the print flat on paper towels to remove excess water. Avoid touching the surface.
Final Wash

Rinse the print in clean water for 1–2 minutes for a final wash.
Dry Completely
Hang or lay flat to dry completely in a dark, ventilated area. Avoid direct light until fully dry.
Evaluate Your Print
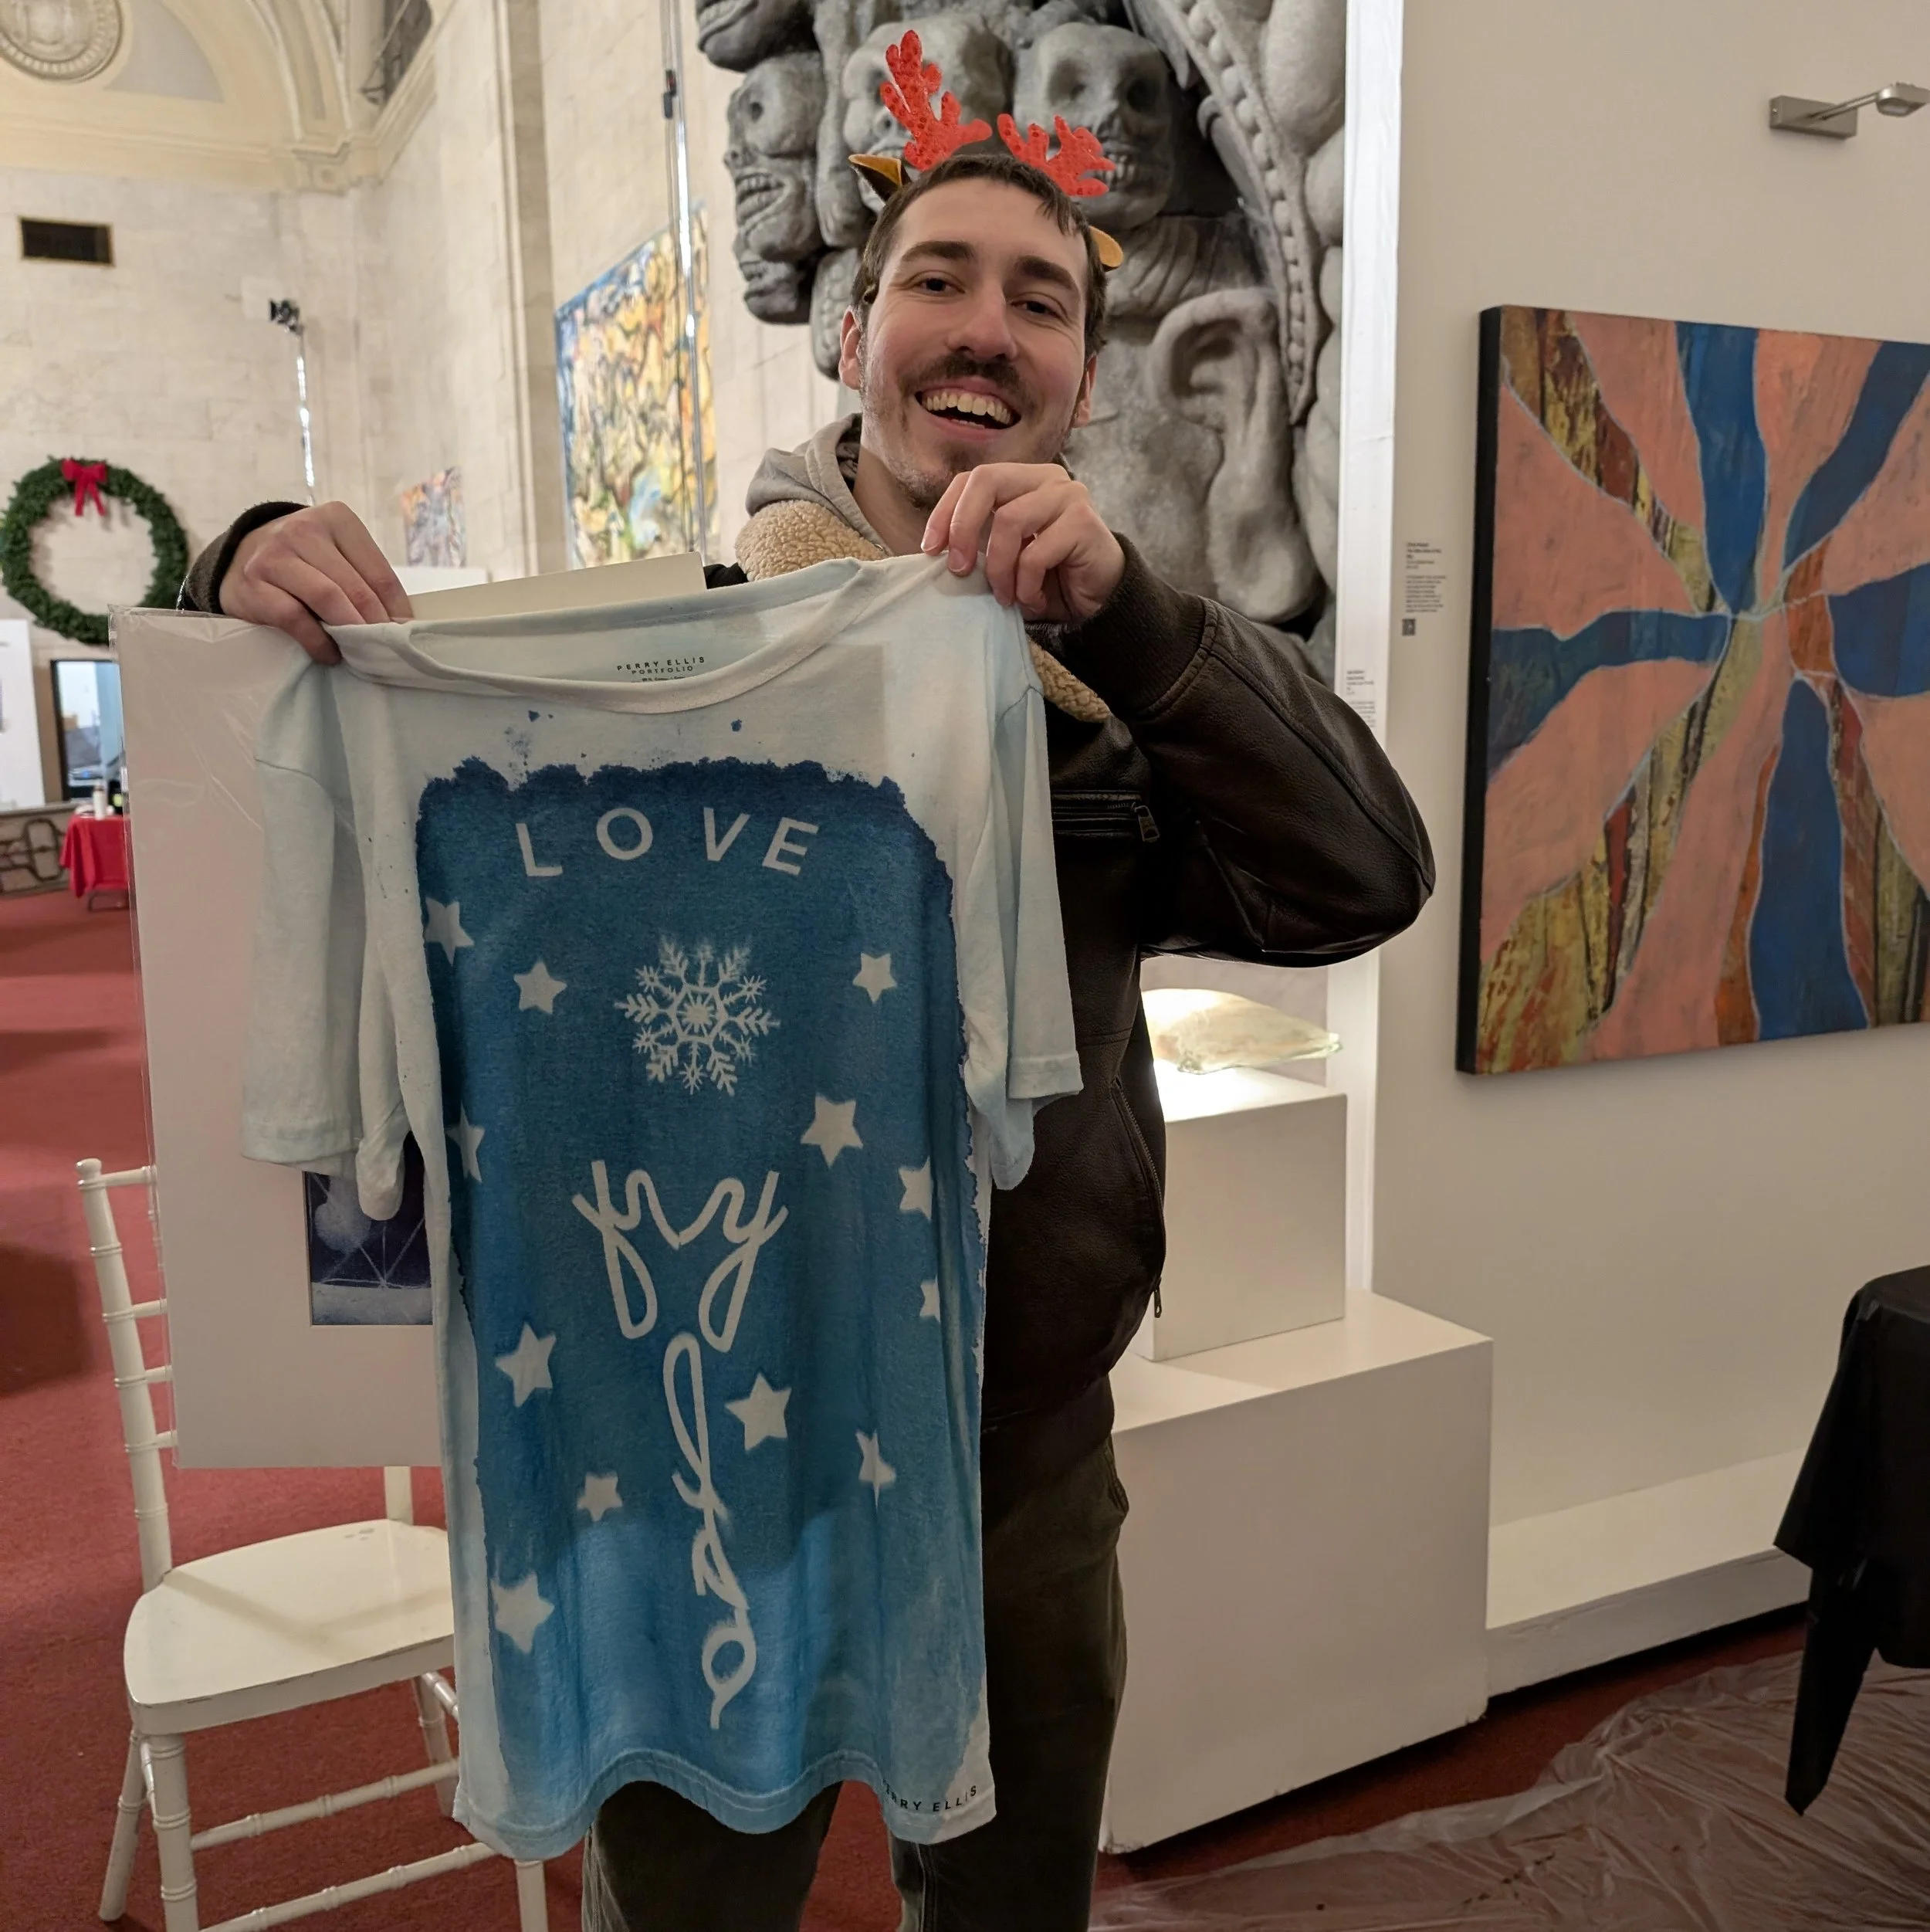
Check the cyanotype for detail and contrast. Photograph or scan it to keep a digital record.
Display Your Work
Frame your cyanotype or mount it on a board. Enjoy the rich, Prussian blue and share your creation with friends and family!
Questions, Comments or want to share your work?
Email Luis or tag me on social media!
Or, email via Gmail or Outlook Web.
If you want to go explore further. This site is a good place to start. Alternative Photographic Processes
I get my chemicals for Artcraft in Altamont, NY
Paper, usually from Blick Art Supply, either in person or online.
A popular kit is Jaquard Cyanotype - Sensitizer Set.
That is it! have FUN!
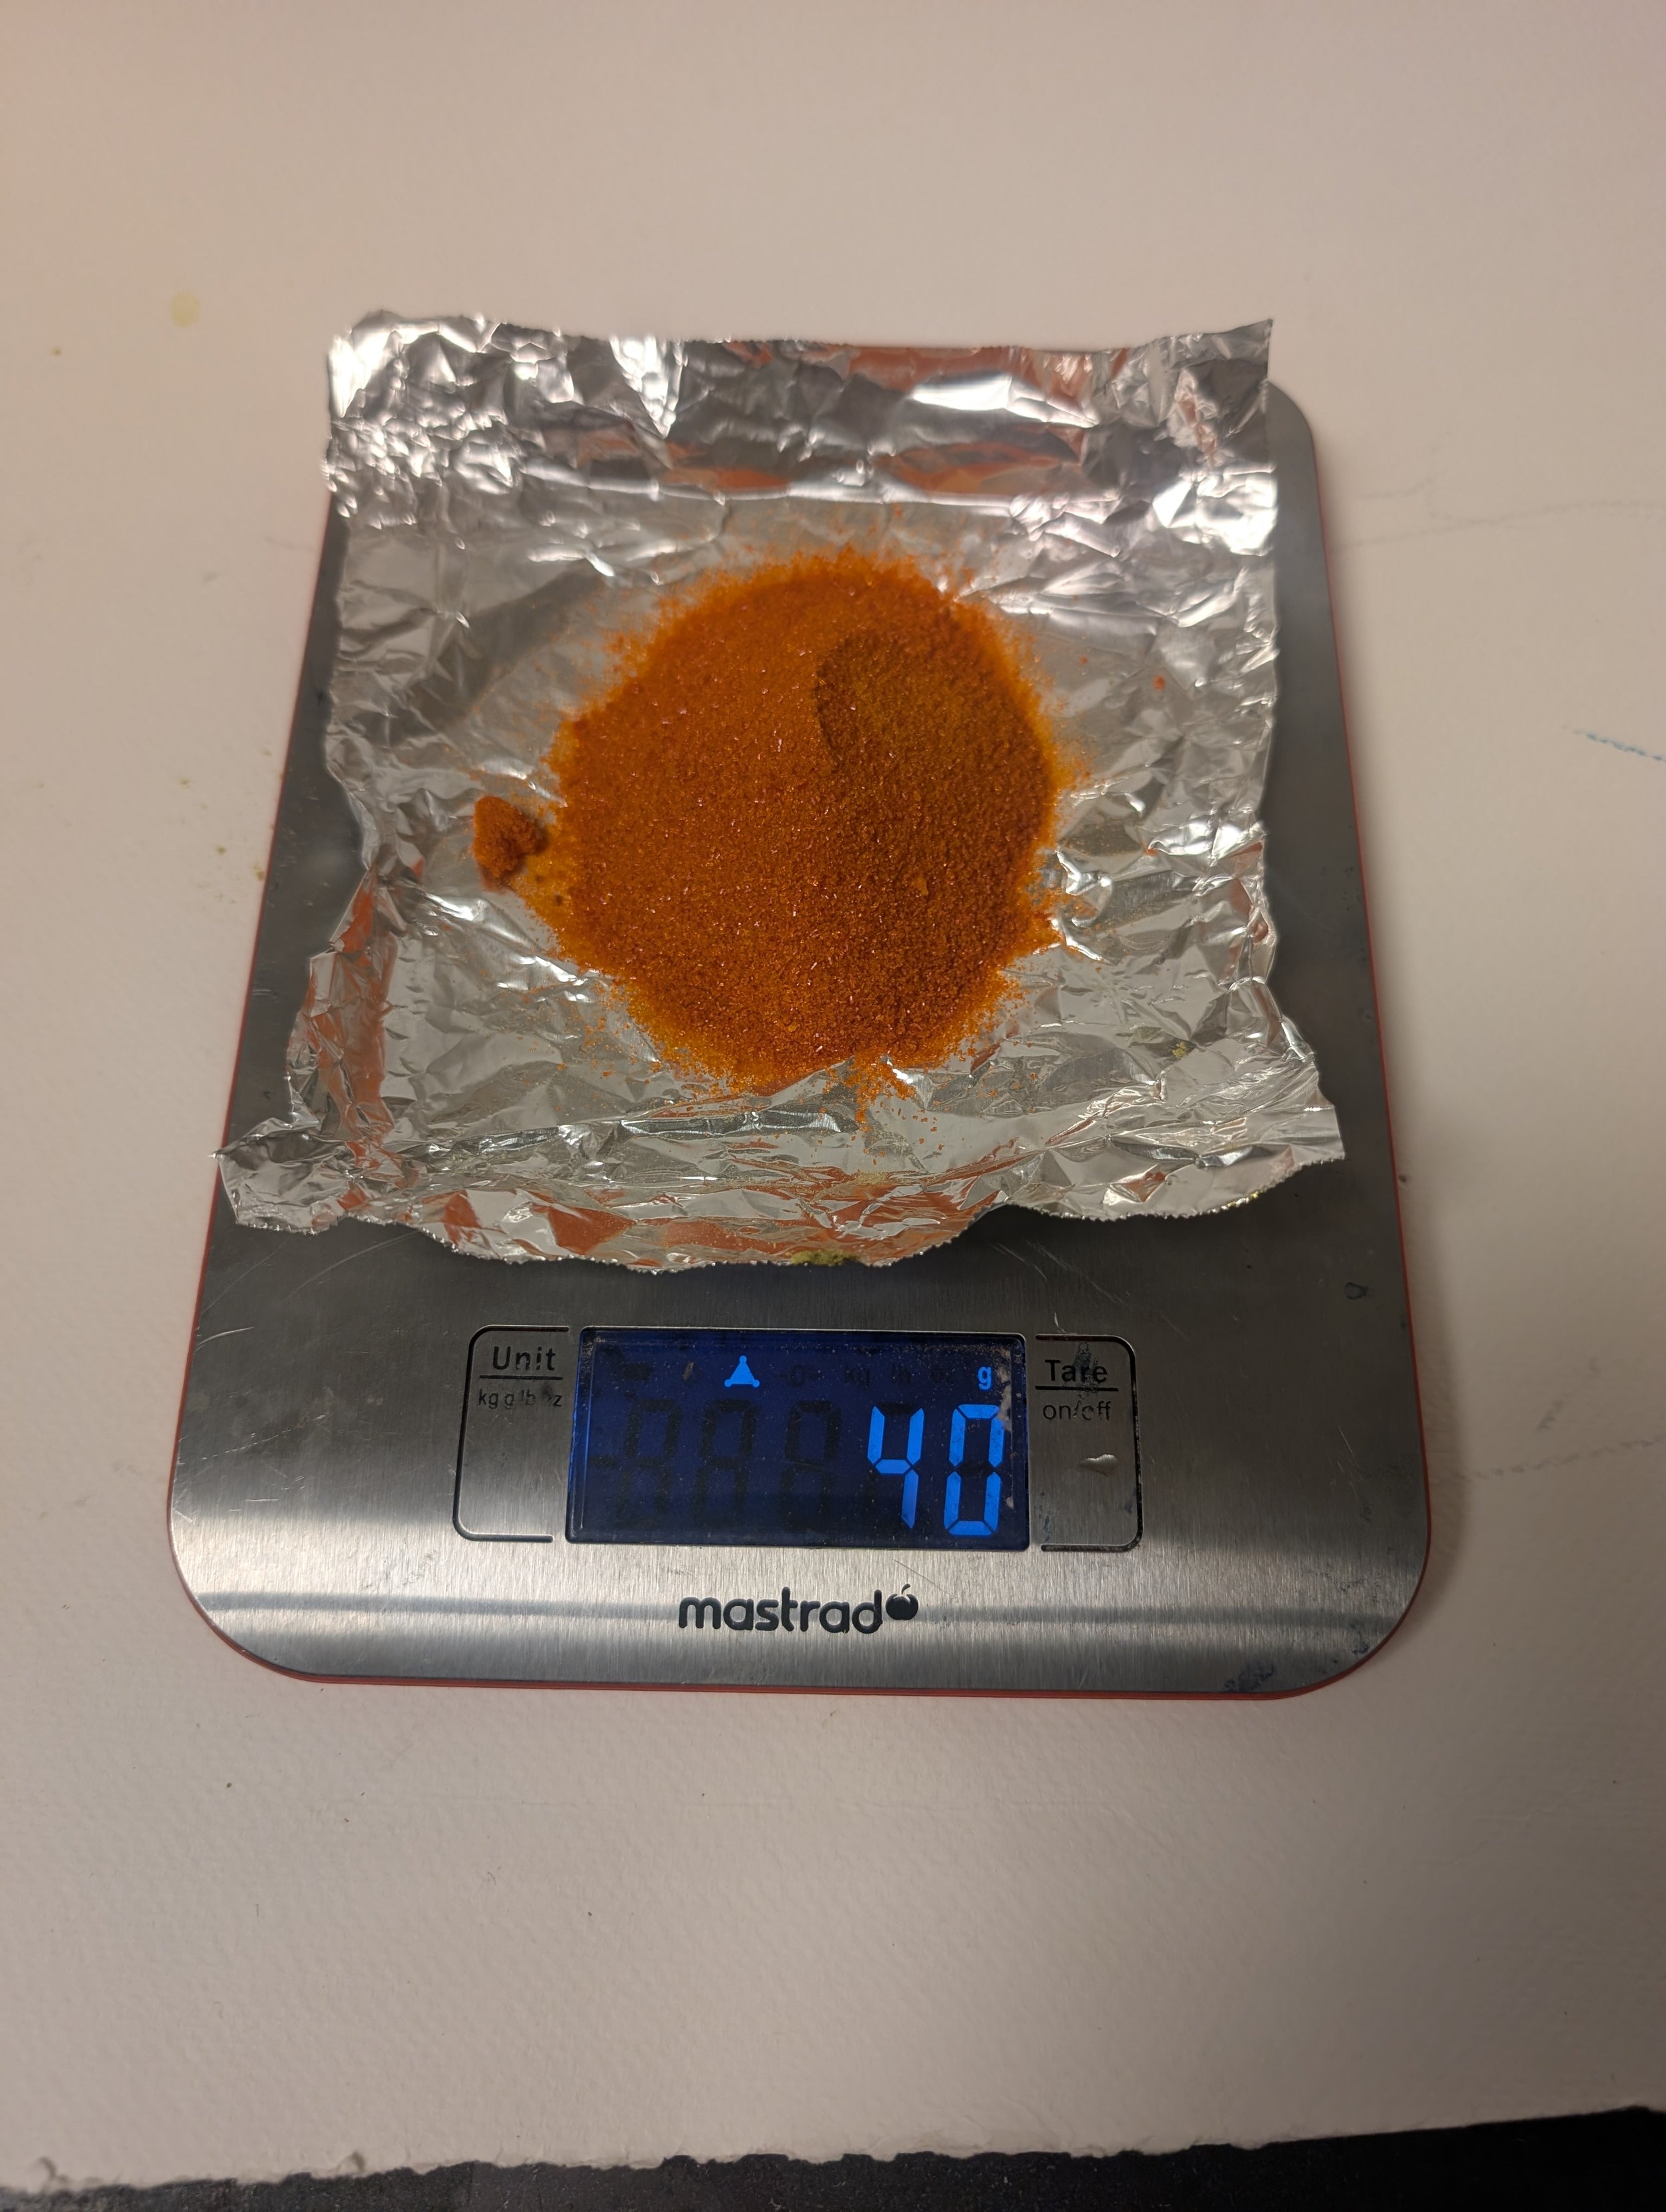
Ferric ammonium citrate (green).
Potassium ferricyanide (red)
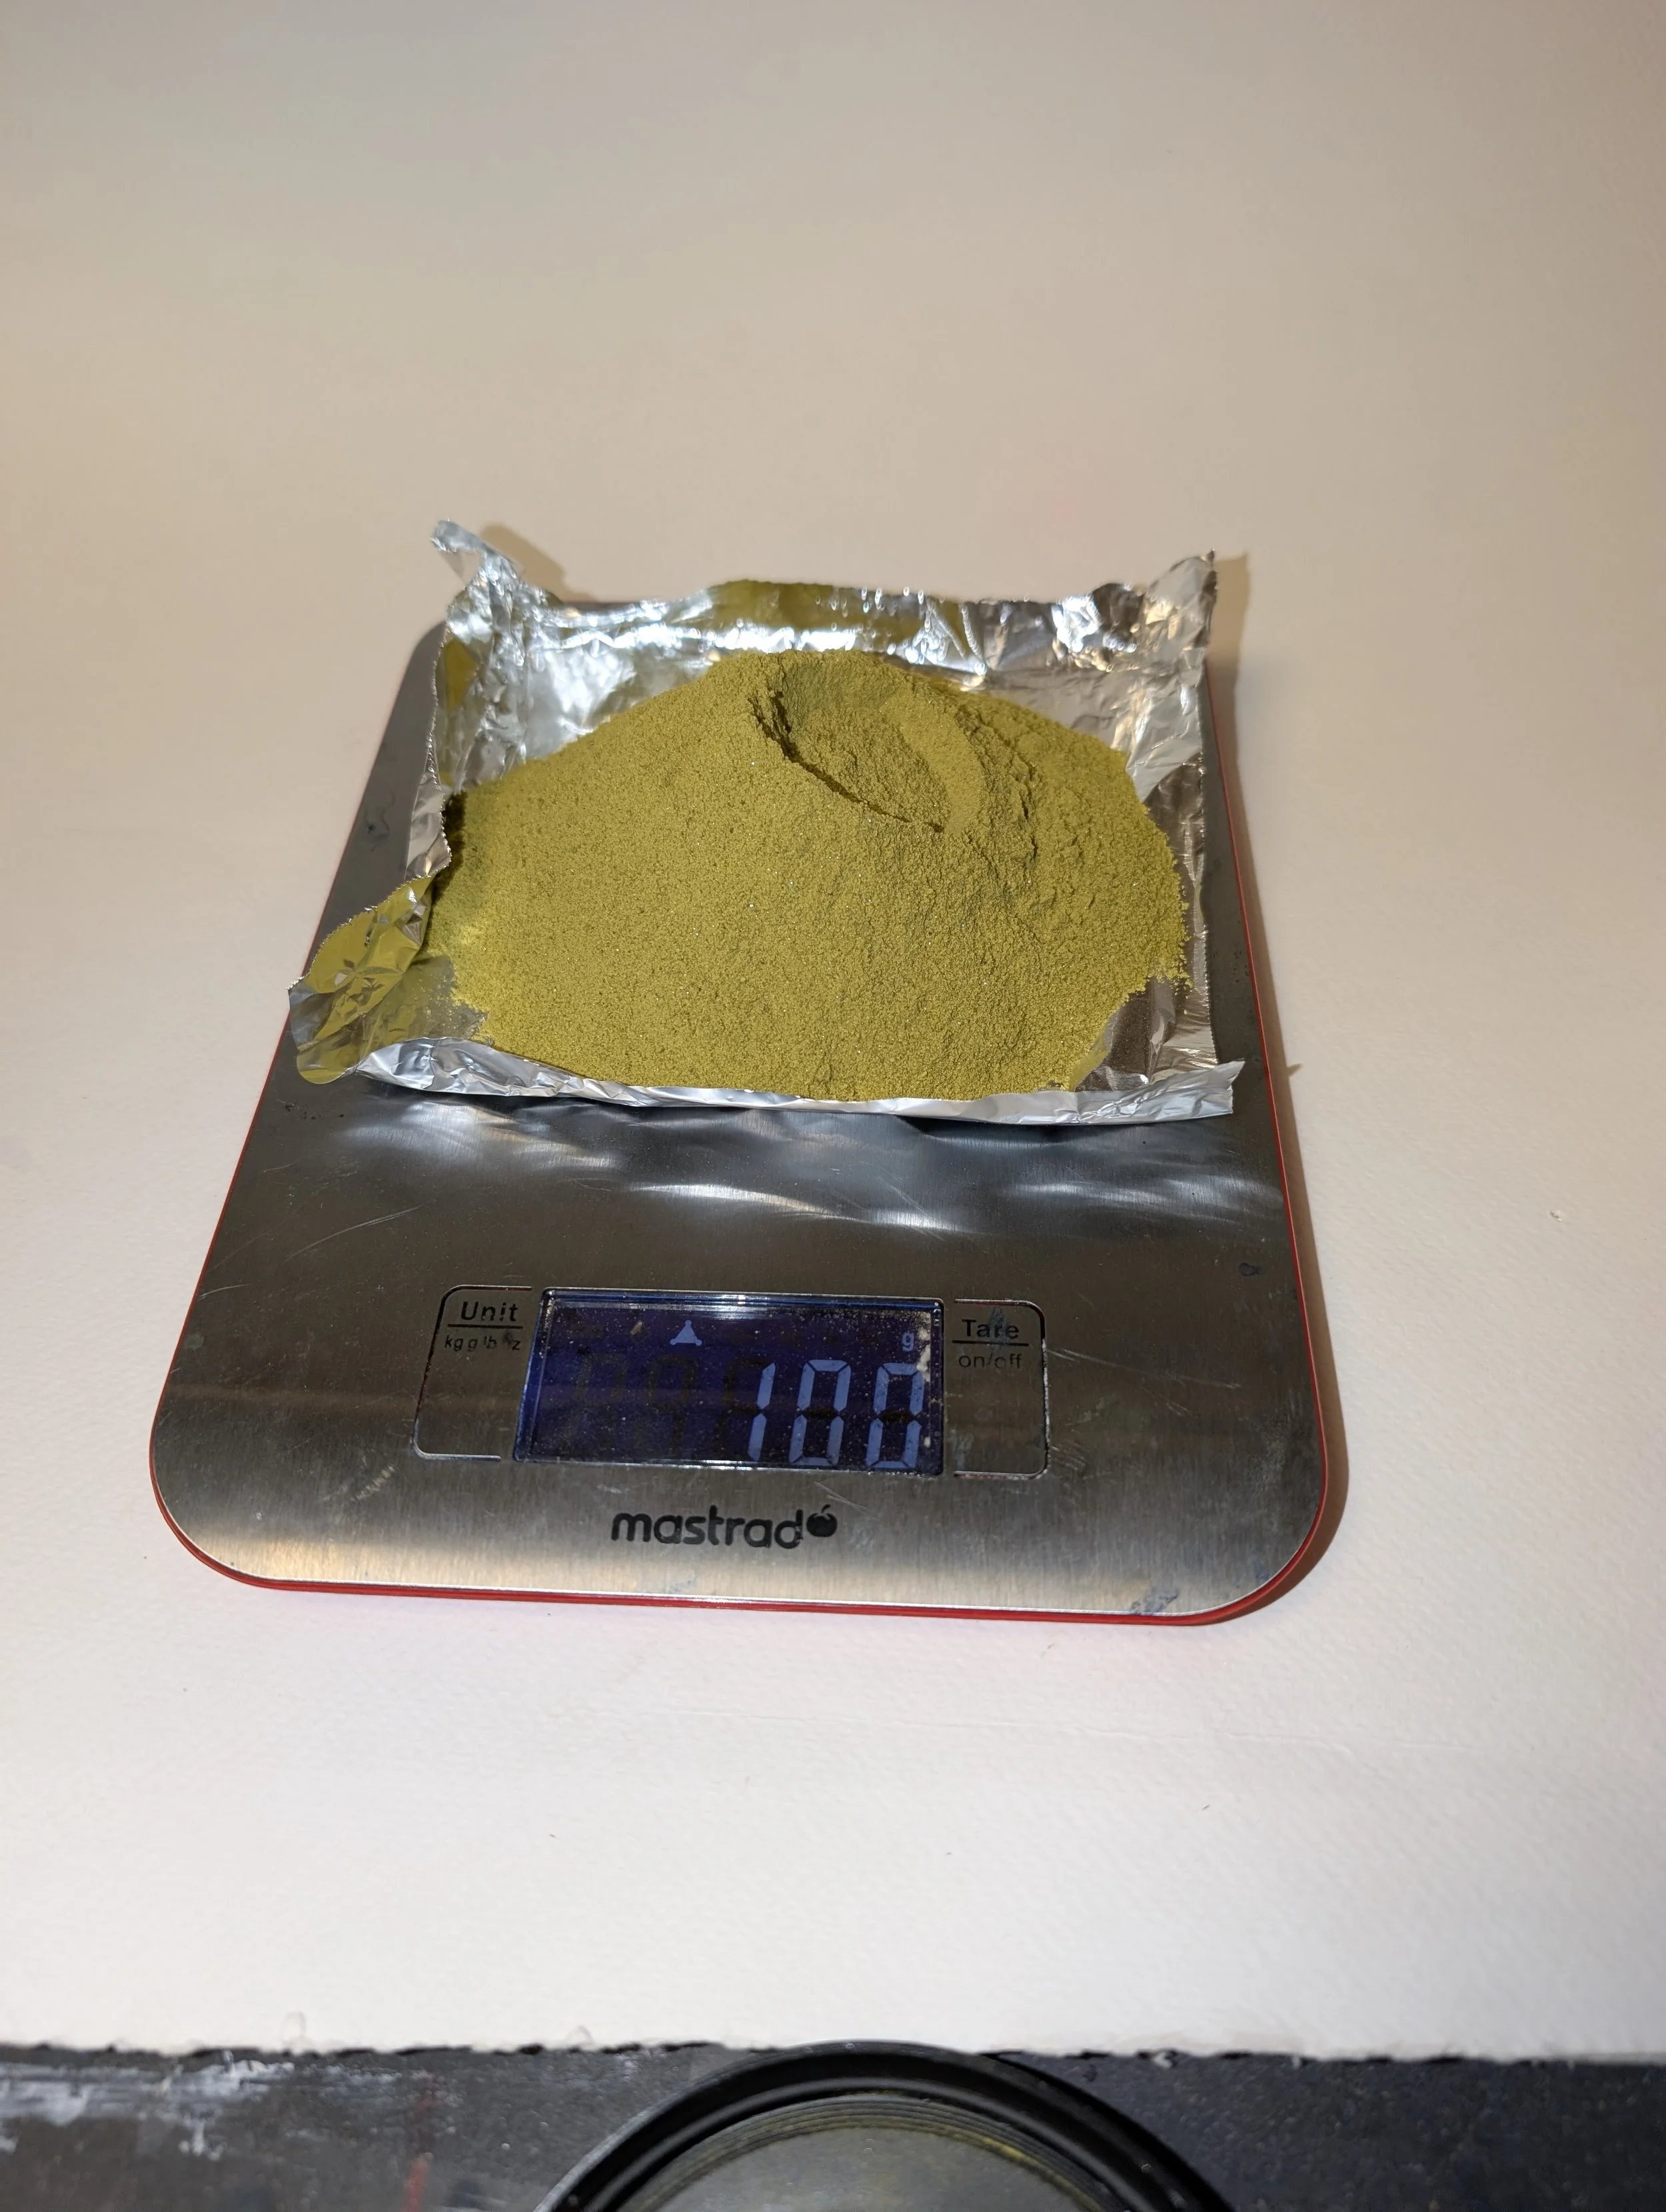
F.A.C. Solution B
100g for 400Ml. of water.
P.F. Solution A.
40g for 400Ml of water.
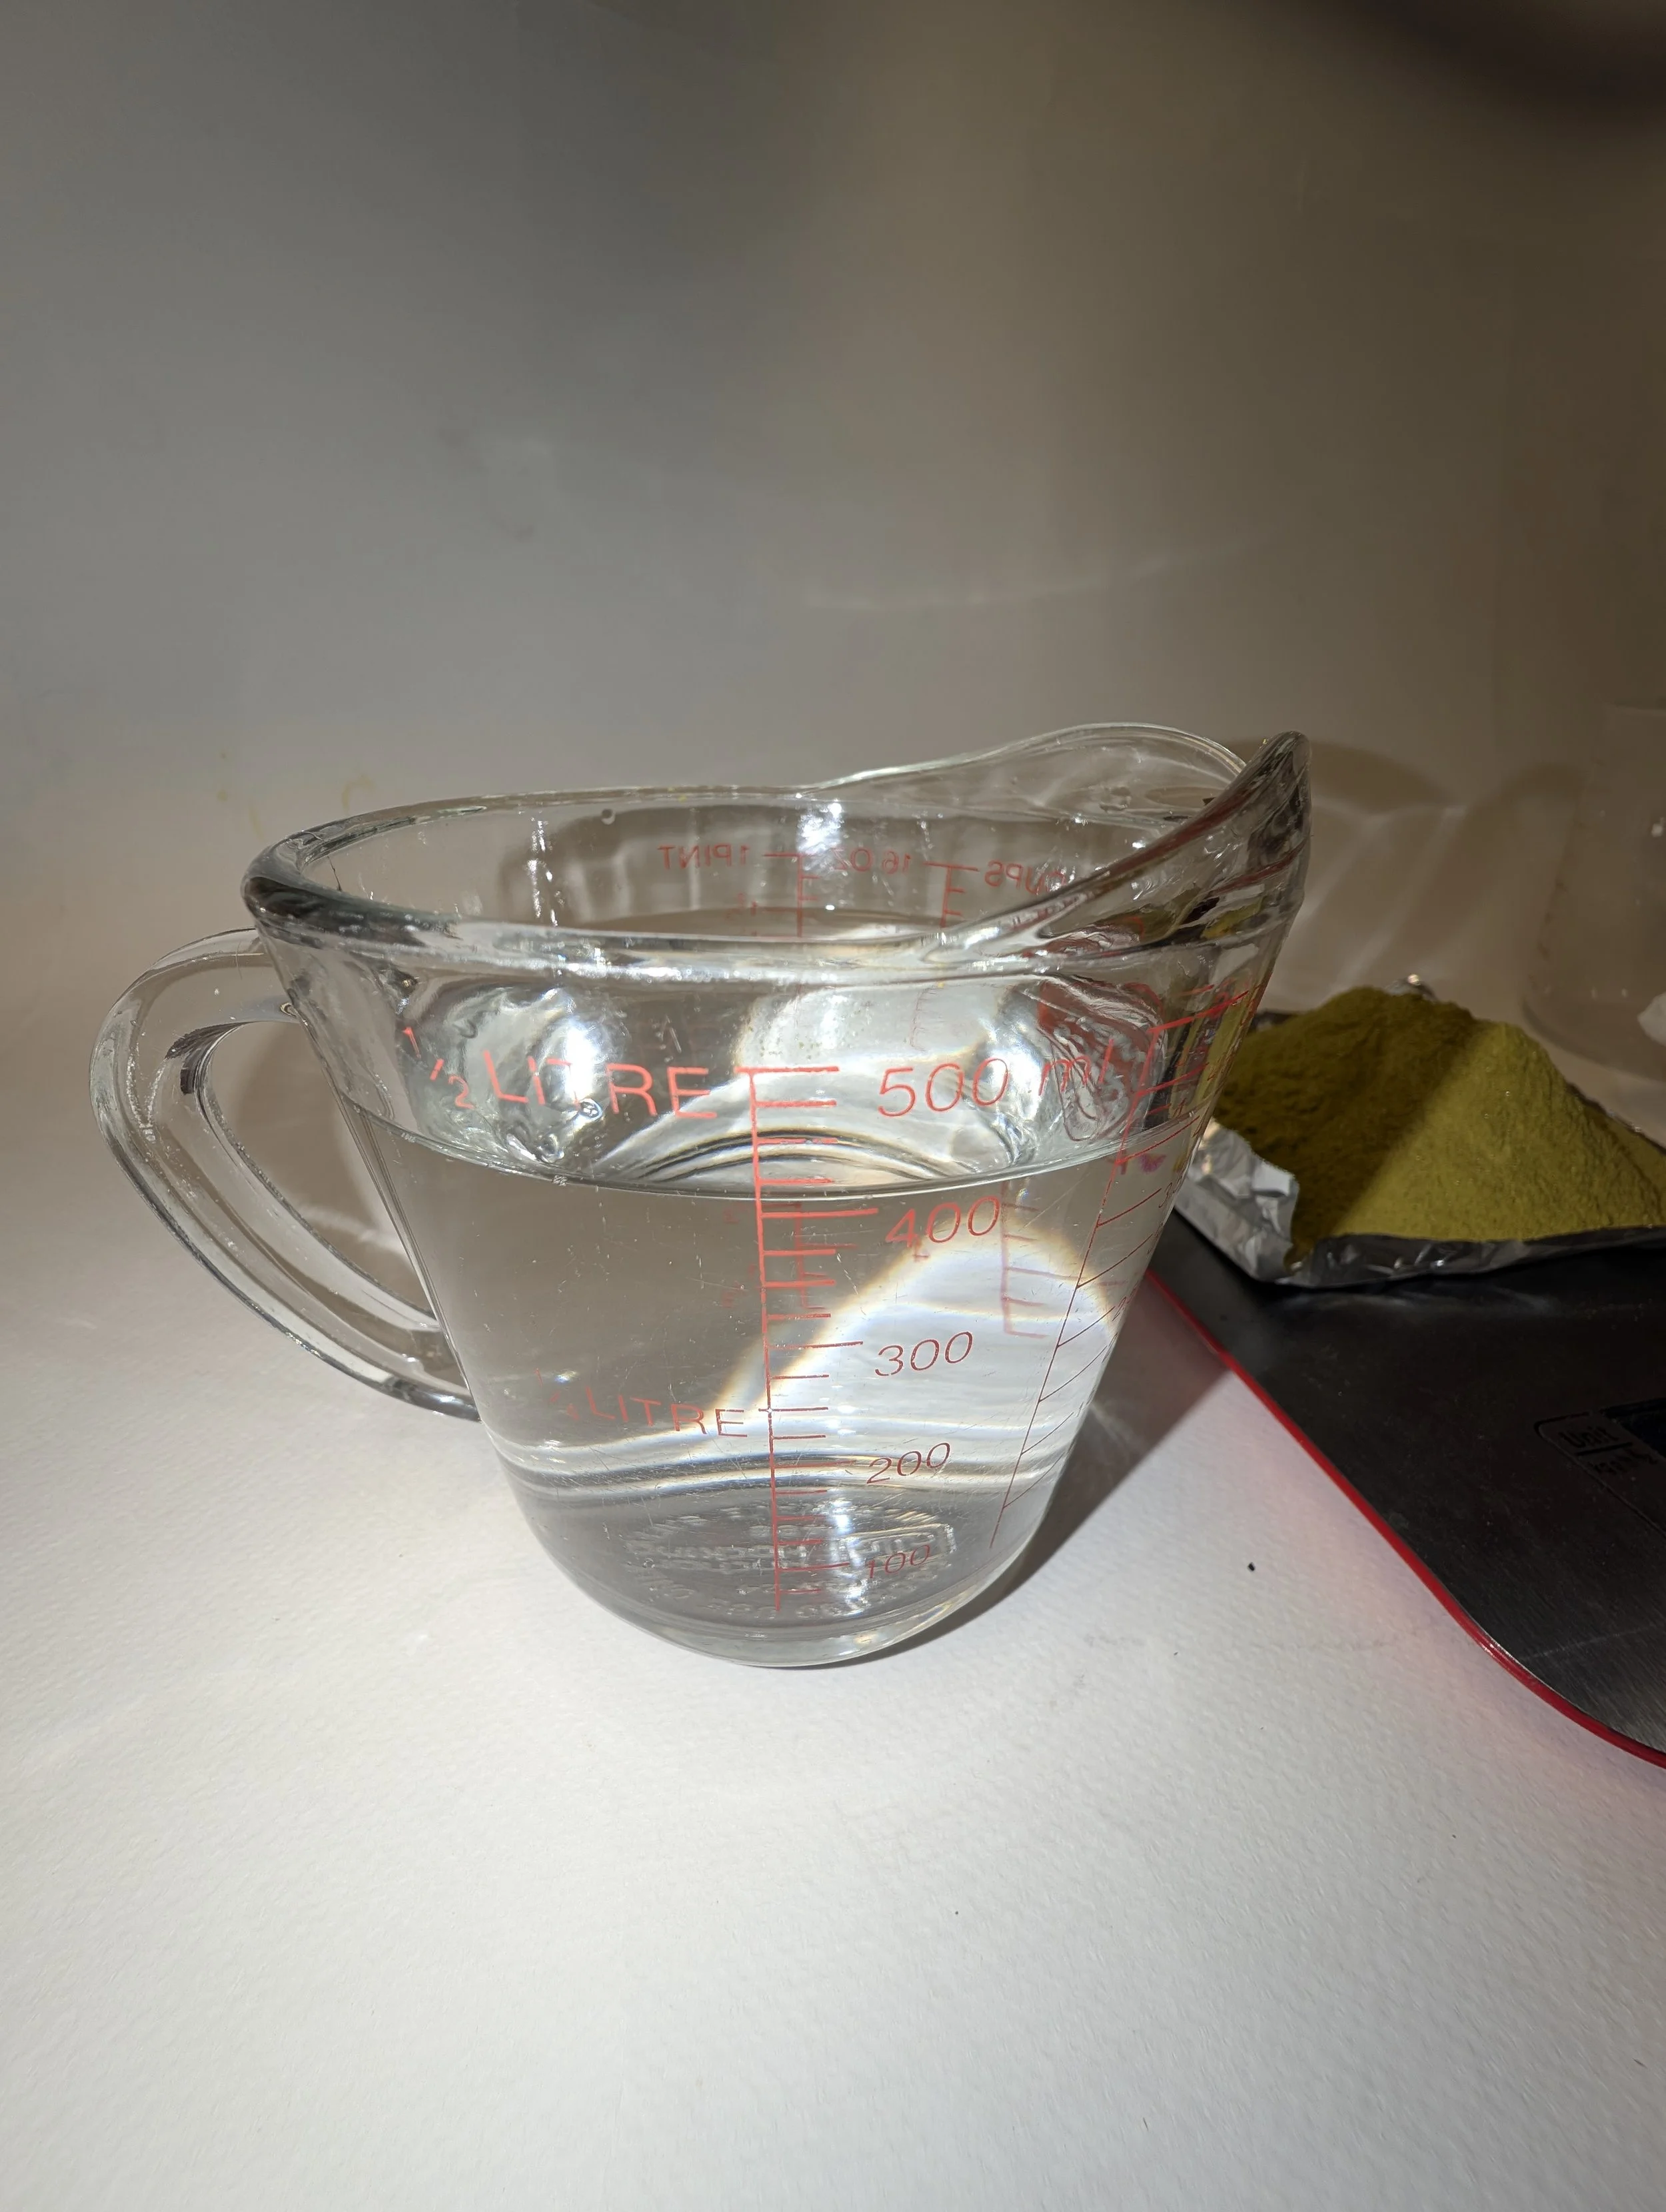
Water 400ml.
Add water to bring total to 500ml.
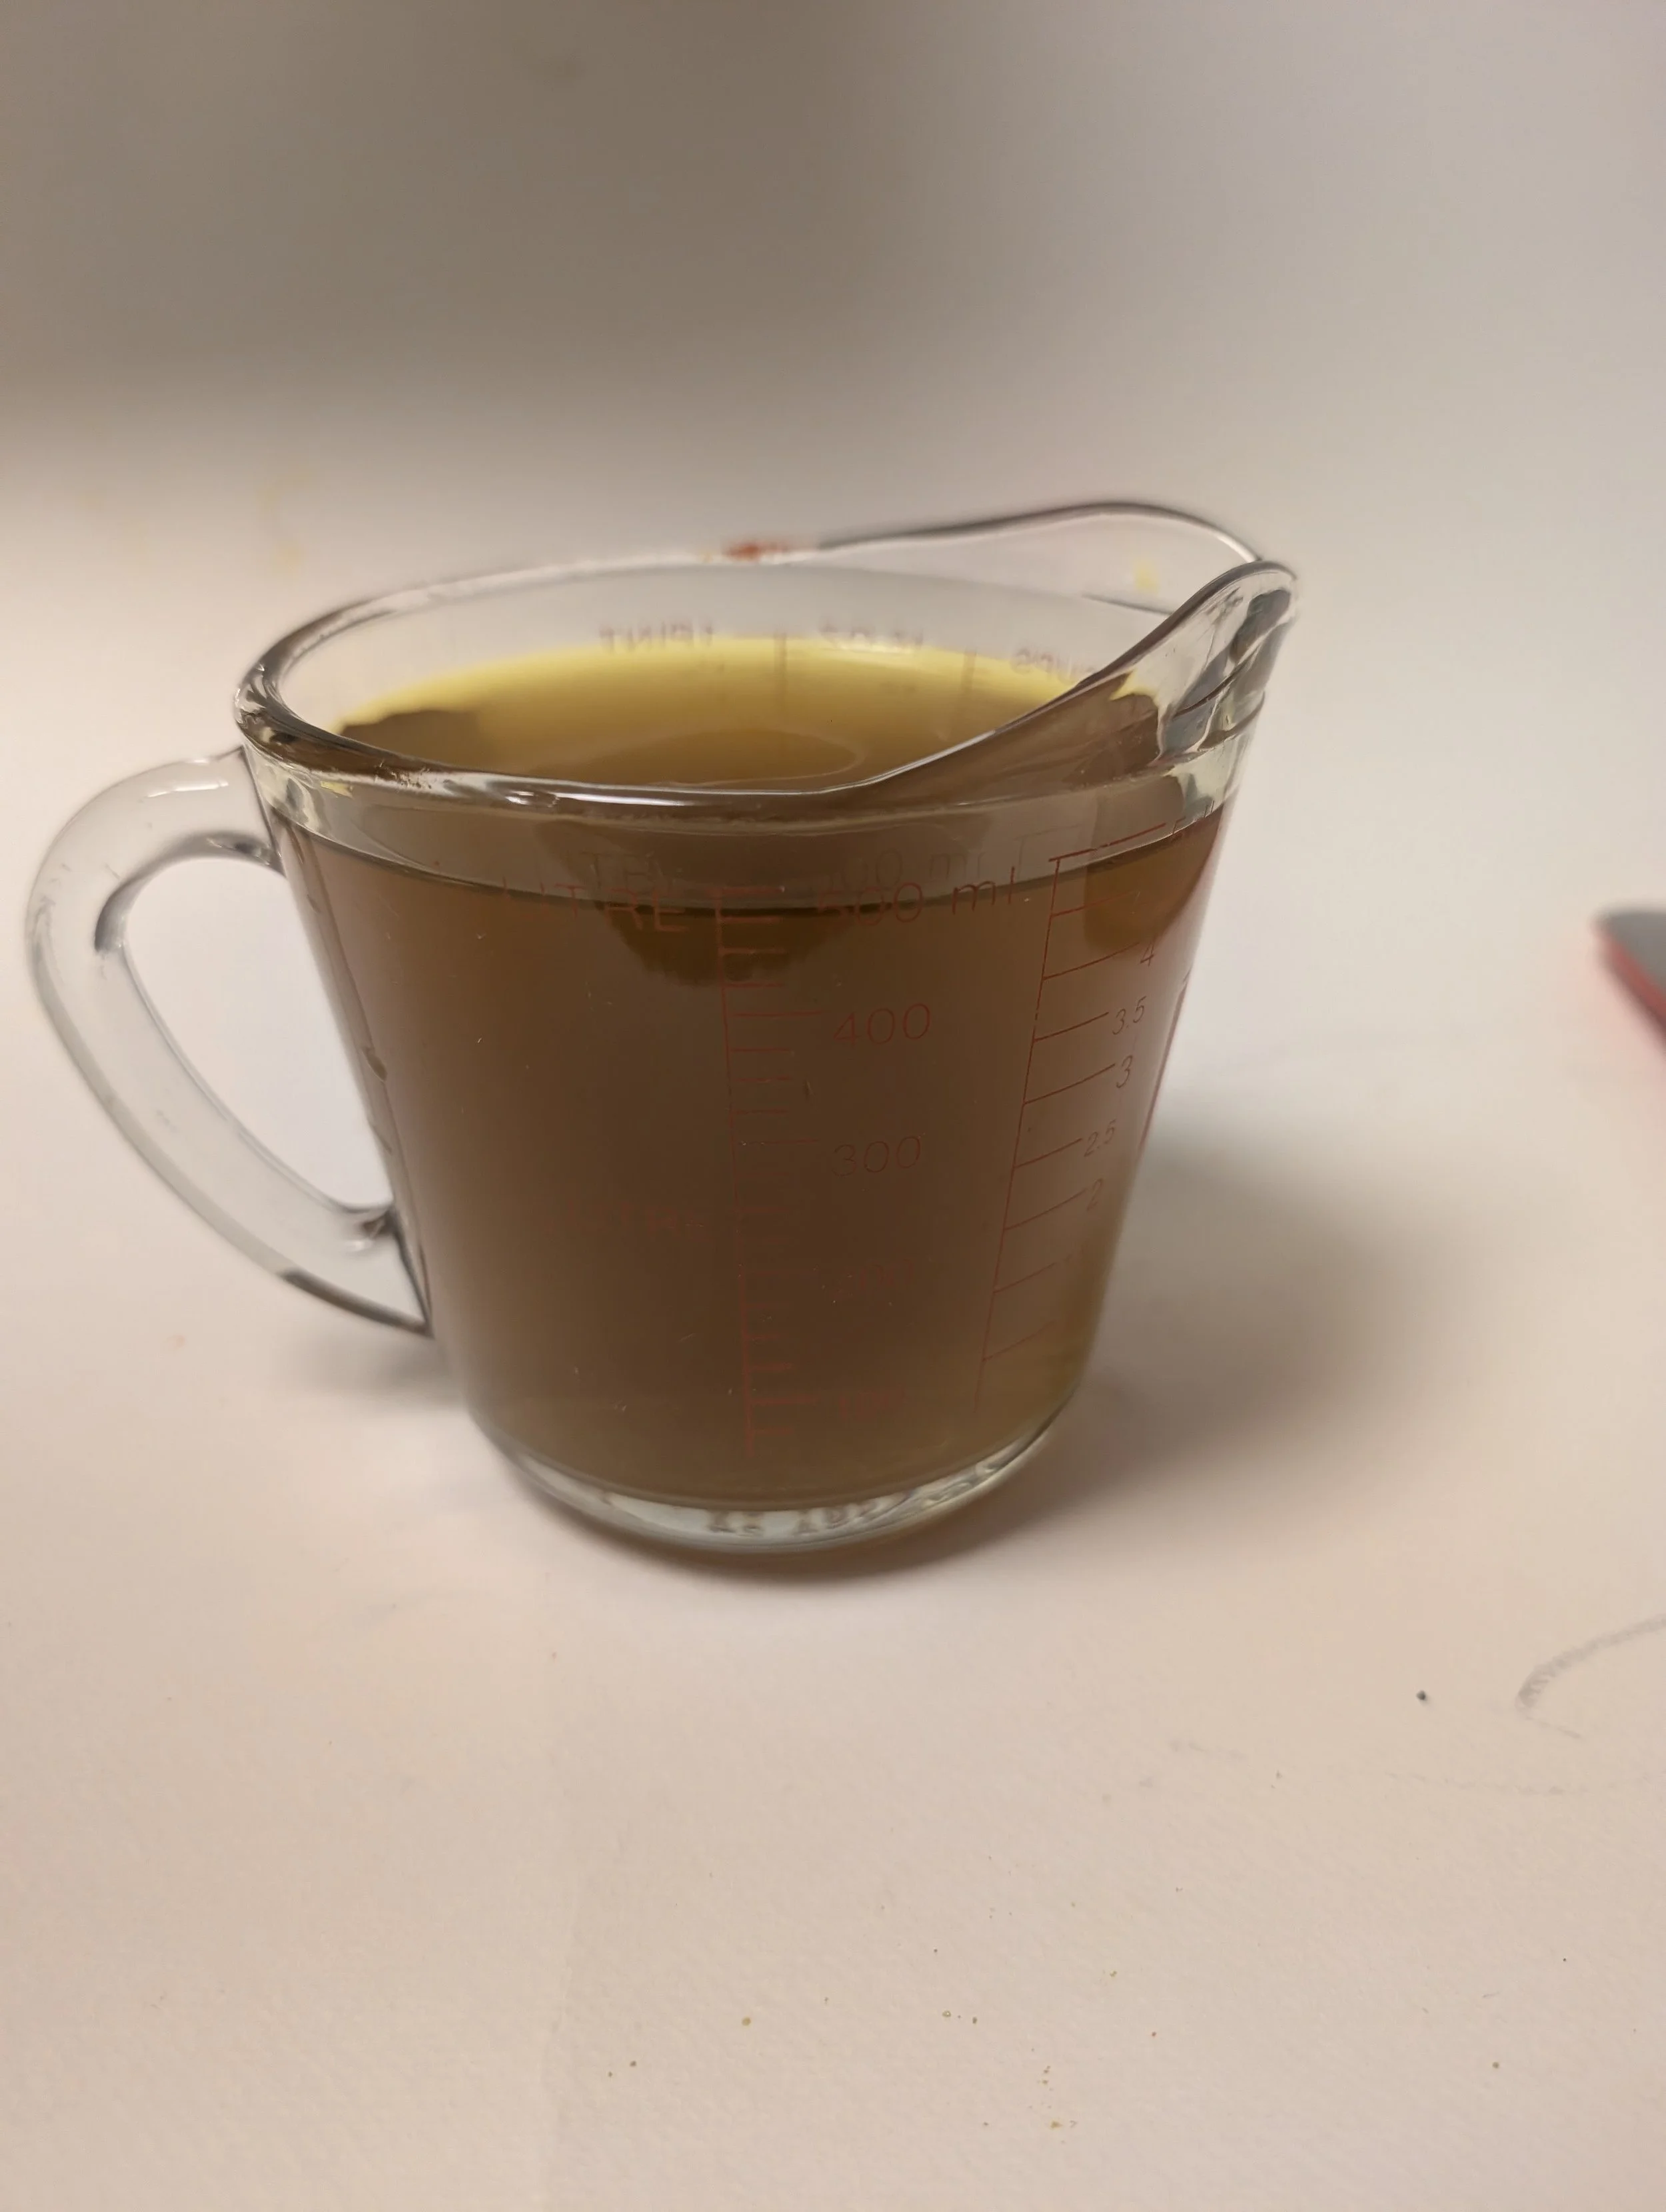
Mix Solution A wit h Solution B.
This solution is now photo sensitive.
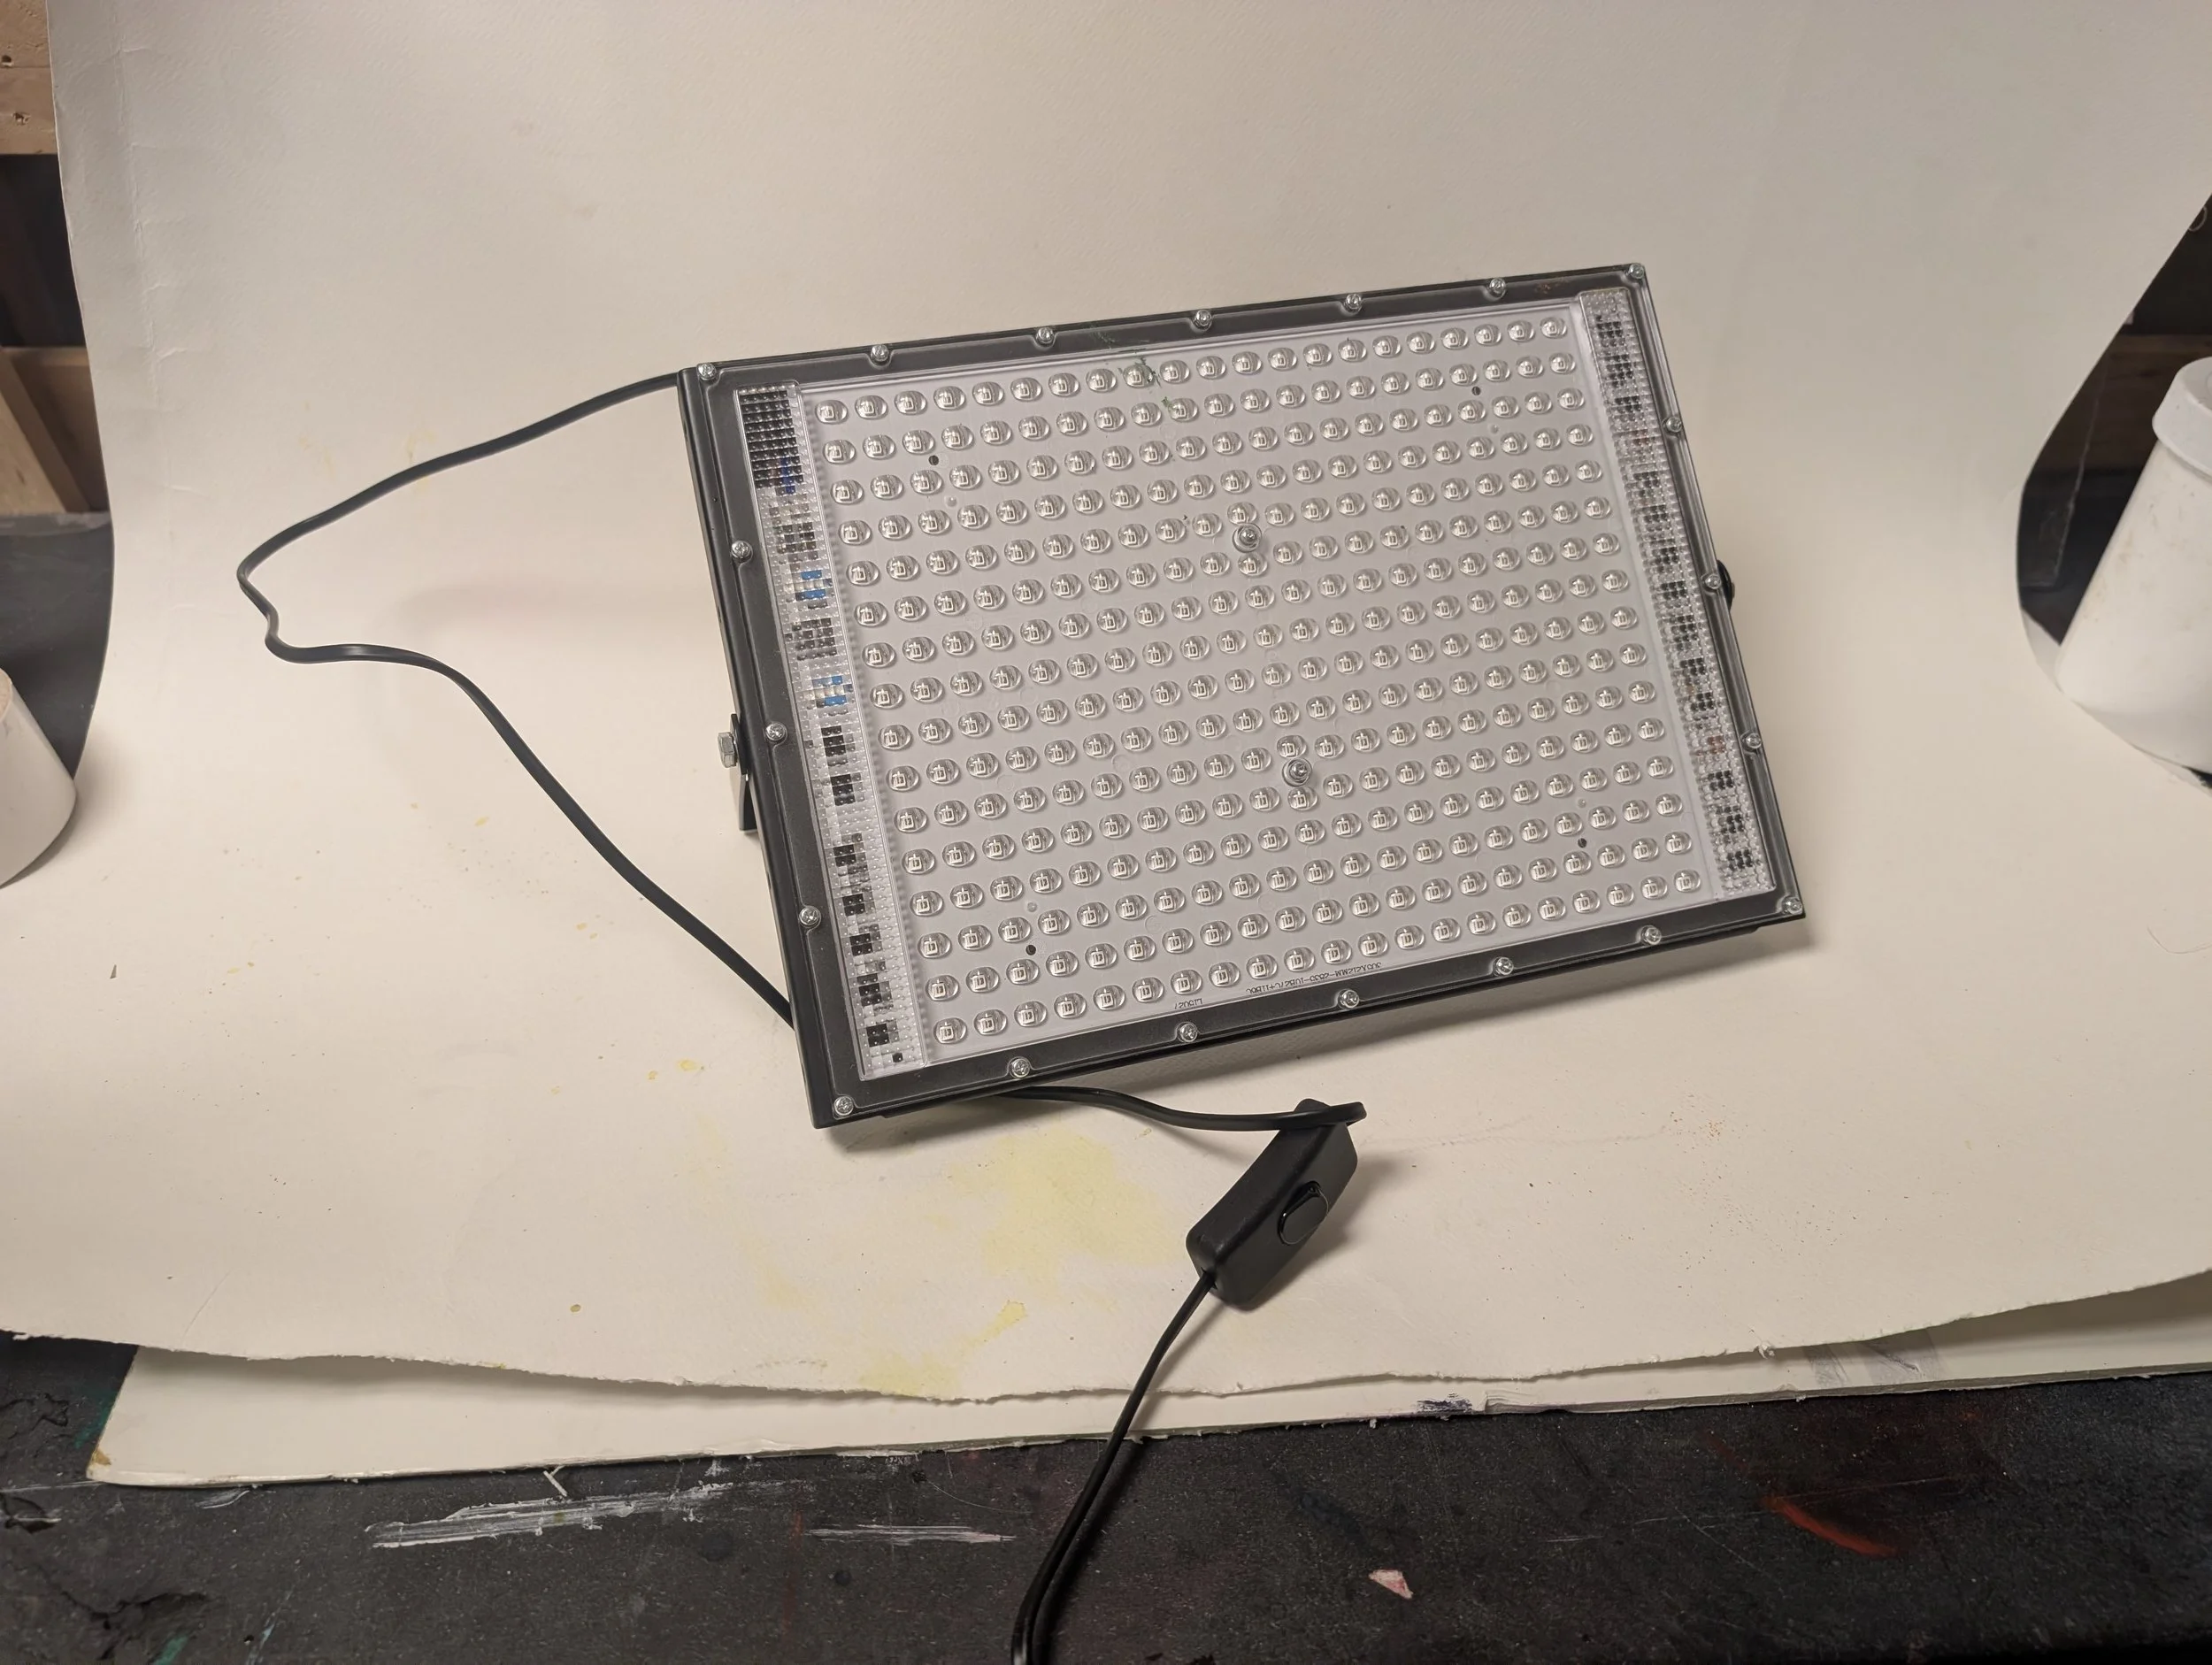
UV Light. Sun is best.
A UV Light for indoors will also work for smaller pieces.
300w. LED
Tips for Participants
This page will remain available after the workshop so you can revisit these steps, experiment with new objects, and refine your cyanotype techniques. For convenience, you can also download a PDF version of this guide to keep on hand while working.
Remember to take photos of your cyanotypes to track your progress and share your creations with others!